 Skip to content
End Mill Sharpening Guide: Geometry, Grinding Steps, and Cost Control
Table of Contents
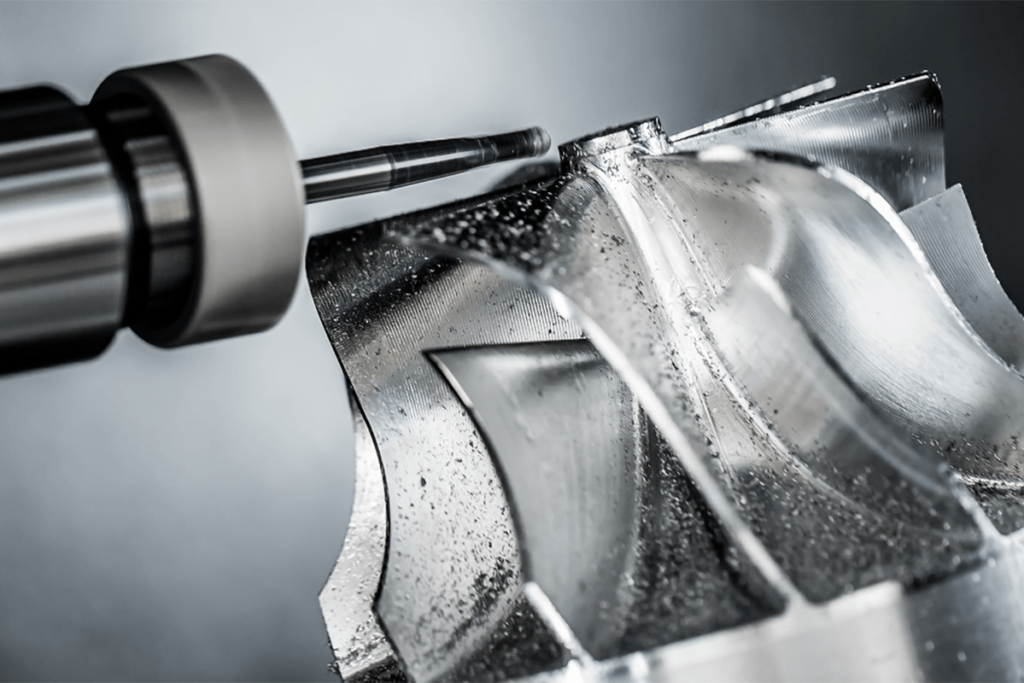
In a mold shop or CNC production floor, an end mill rarely fails at a convenient time. A small chip on the corner can leave witness marks on a cavity wall. Uneven end teeth can make a flat surface look slightly dished. A dull side edge can push the spindle load up, generate heat, and turn a finishing pass into a scrap-risking operation.
That is why end mill sharpening is not just a maintenance habit. It is a cost-control decision. Done well, regrinding can extend tool value, reduce emergency purchases, and keep proven tools in service. Done poorly, it changes the tool geometry enough to cause chatter, poor floor flatness, oversize slots, or premature edge failure.
This guide reorganizes the key sharpening points into a practical workflow for carbide end mills, especially the solid carbide tools commonly used for flats, slots, steps, contours, cavities, and mold surfaces.
Why Sharpening Quality Affects More Than Tool Cost
The cheapest decision is not always to keep grinding a worn cutter. The profitable decision is to understand what the tool must do after sharpening.
For roughing, a reground tool may still be useful if edge strength, chip evacuation, and diameter accuracy remain acceptable. For mold finishing, a small mismatch between cutting lips can show up as floor marks or a step between tool paths. For slotting, reduced tool diameter after side regrinding may require tool offset correction. For plunging, center-cutting geometry matters, and many end mills should not be treated as if they can simply drill downward.
Carbide end mills also need the correct abrasive. Tungsten carbide is normally ground with diamond wheels. A poorly dressed wheel, excessive heat, or a forced grinding approach can chip the edge rather than restore it.
Understand the Cutting Edges Before Grinding
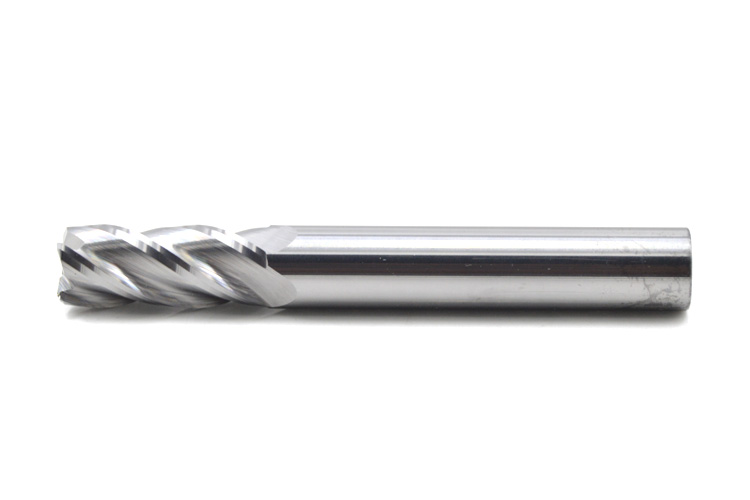
On a typical carbide end mill, the peripheral cutting edges along the flute do most of the side cutting. These are often called the main cutting edges or side cutting edges. The cutting edges on the end face are responsible for facing, shallow pocket floors, ramp entry, and some axial cutting behavior.
The end face has more than one geometry to protect:
Geometry area | Why it matters | What can go wrong after poor sharpening |
End cutting edge | Supports floor milling, facing, and pocket-bottom quality | Uneven lip height, poor flatness, rubbing, heat |
Primary relief angle | Prevents the edge from rubbing behind the cut | Too little relief causes heat; too much weakens the edge |
Secondary relief | Gives clearance and chip space behind the primary land | Incorrect relief can make the edge fragile or unstable |
Gash or center clearance | Creates chip room near the tool center | Poor gashing traps chips and raises cutting force |
Peripheral edge | Controls side cutting, slot width, and profile accuracy | Taper, diameter loss, chatter, poor wall finish |
A useful regrind keeps these features working together. It is not enough to make the edge look shiny.
Start With the Grinding Wheel, Not the Cutter
Before touching the end mill, inspect the grinding wheel and setup. Many sharpening problems begin with a wheel that is not flat, round, or dressed correctly.
Check for wheel runout, an uneven cylindrical face, a damaged corner radius, glazing, loading, and side-face wear. If the wheel face is no longer true, dress it with a suitable diamond dresser or wheel dresser. If the side face is visibly uneven, replacing the wheel may be safer than trying to rescue the setup.
For carbide, use a suitable diamond grinding wheel and avoid heavy pressure. Carbide edges are hard but brittle. The goal is controlled stock removal, not aggressive sparks and heat.
Grind the End Face Square First
For multi-flute carbide end mills, the first practical step is often to make sure the end face is square to the tool axis and that the cutting lips can finish at the same height. If the end is not square, every later angle becomes harder to control.
There are several shop-floor ways to check squareness:
Checking method | How it works | Best use |
Visual check on a flat plate | Place the end mill cutting-end down on a flat plate and rotate it 180 degrees, then compare the lean in the same direction | Quick check for obvious end-face error |
Engineer’s square | Stand the tool on a surface plate and check gaps against a 90-degree square | Better for repeatable inspection before and after grinding |
Machine-assisted touch check | Hold the tool in a spindle or fixture and lightly check contact against a dressed abrasive surface | Useful when the shop has a stable setup and trained operator |
Tool grinder setup | Hold the cutter in a collet, chuck, or taper sleeve and grind the end face to the required condition | Preferred for controlled reconditioning |
If the end has severe breakage, some shops cut back the damaged section first, then regrind the end geometry. That saves time and avoids chasing deep chips with repeated light passes.
Reopen the Gash or Cross Chip Clearance
On a four-flute end mill, the end face often needs a center gash or cross clearance to give chips somewhere to go near the center. If this area is missing, too shallow, or closed by previous grinding, the tool may rub and push material instead of cutting cleanly.
A shallow cross gash is commonly opened along the direction of the helical flutes. In manual practice, the depth may be around 1 to 2 mm, but the right value depends on tool diameter and design. Too deep can weaken the center and cause chipping. Too shallow may leave poor chip evacuation and make it difficult to create the secondary relief.
The key is control. The grinding wheel should not damage the next cutting edge while creating the gash. The center should have enough clearance to avoid rubbing, but the lips should still have strength.
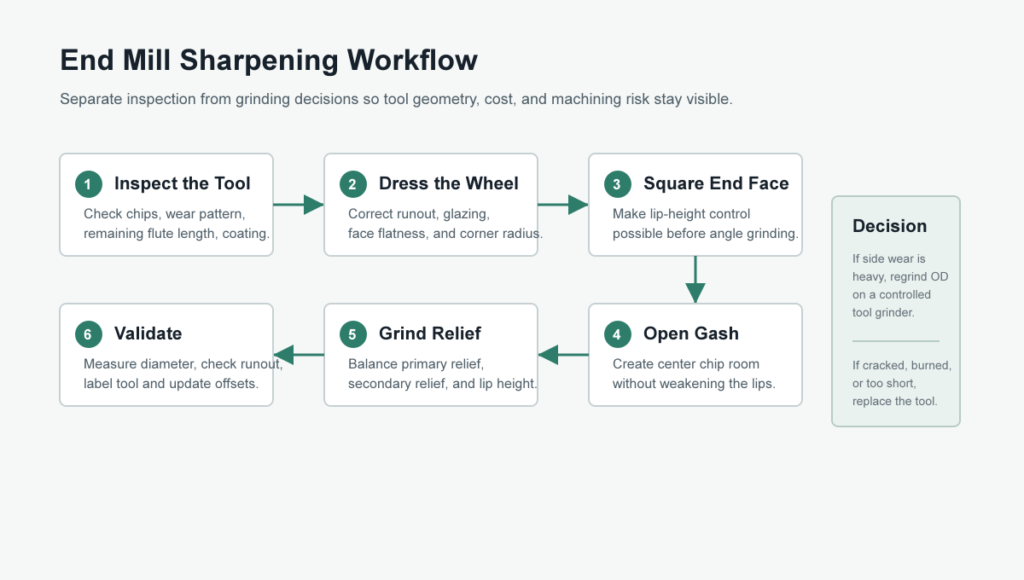
Grind the End Cutting Edges
When grinding each end cutting edge, use the cutting corner as the reference. Preserve the corner if it is still healthy. If the corner is chipped, remove only enough material to rebuild a reliable edge.
Typical manual sharpening focuses on the rake face only when necessary. If the cutting face is not damaged, excessive grinding can remove useful geometry. More attention normally goes to the primary relief, secondary relief, and slight inward dish of the end cutting edges.
For many general carbide end mills, a practical relief-angle range may be:
Angle or feature | Common working range | Practical note |
Primary end relief | 6 to 8 degrees | Use the smaller end for harder materials or when edge strength matters |
Secondary relief | 30 to 45 degrees | Creates clearance behind the primary land |
Inward end inclination | 1 to 3 degrees | Helps make the outer corners the highest cutting points |
Corner chamfer after sharpening | Around 0.2 mm or larger when suitable | Helps strengthen the corner if sharp internal corners are not required |
These numbers should not be treated as a universal drawing standard. Tool diameter, flute count, coating, workpiece material, machine rigidity, and application all matter. The important idea is that all flutes must be balanced. One high lip cuts harder than the others, wears faster, and marks the workpiece.
For mold work, the end cutting edges should lean slightly inward toward the center. The center should not stand proud. If the center is higher than the outer corners, the tool can leave a poor floor and may rub badly near the middle. If the inward dish is excessive, surface quality can suffer and edge strength may drop.
Inspect Lip Height and Tool Axis After Grinding
After grinding the end, stand the end mill on a clean flat plate. If the axis is square and the lips are even, all cutting corners should touch consistently. If two opposite corners touch first, inspect which lips are high and correct them carefully.
A useful manual routine is:
– Check the first pair of opposite lips on the flat plate.
– Correct the higher side until the pair sits evenly.
– Rotate the tool 90 degrees and repeat for the other pair.
– Recheck all four corners so the tool does not rock.
This sounds simple, but it is where many hand-sharpened tools lose accuracy. A small lip-height error can matter more than a beautiful-looking relief surface.
Side Cutting Edge Regrinding Is Harder Than It Looks
If the peripheral cutting edge is worn, the side flutes may need regrinding along the helix. This is more difficult than end-face sharpening because the wheel must follow the flute geometry without creating taper or uneven radial relief.
Manual side-flute sharpening often produces some taper. The smaller the taper, the better the operator skill and fixture control. For tight-tolerance CNC work, side-edge regrinding should be done on a proper tool and cutter grinder or CNC tool grinder, followed by diameter measurement and tool offset updates.
After side regrinding, the cutter is no longer the original diameter. That matters for slot size, contour offsets, finishing allowance, and CAM tool libraries. A shop that regrinds end mills should label the new diameter clearly and keep it out of jobs where the original nominal size is required.
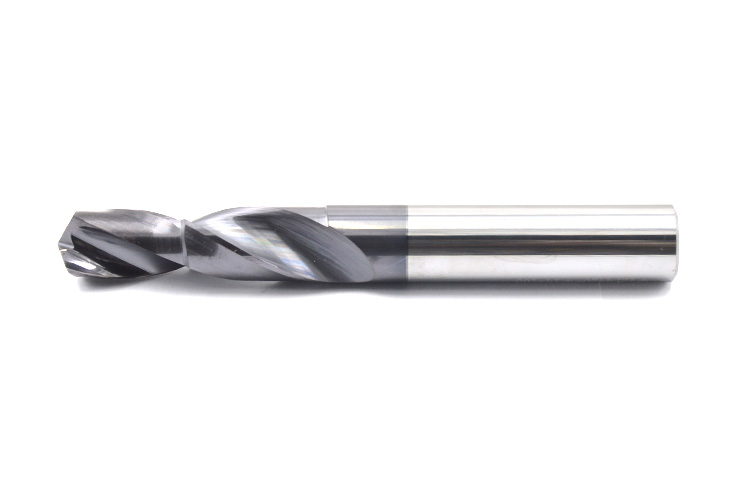
Coating can extend tool life, but the underlying ground geometry still controls cutting behavior. If a coated end mill is reground, the edge area will usually lose coating coverage unless the tool is recoated after grinding.
When Regrinding Makes Business Sense
The title idea is true in a shop-floor way: technique is money. But the calculation should be honest.
Regrinding makes sense when the remaining carbide length is useful, the tool is large enough or expensive enough to justify the work, geometry can be restored accurately, and the application can tolerate the new diameter or length. It is less attractive for very small cutters, tools with deep edge chipping, tools that have lost too much flute length, or finishing tools where exact geometry and coating are critical.
Tool condition | Regrind decision | Reason |
Light corner wear, no major chipping | Good candidate | End face and relief may be restored with limited stock removal |
Dull side edges but stable flute shape | Good candidate if diameter change is acceptable | Side regrinding can recover cutting action but changes tool size |
Severe broken corner | Possible if enough flute length remains | Damaged section may need to be cut back before regrinding |
Burned, chipped, or cracked carbide | Usually replace | Hidden damage can cause edge failure in the machine |
Small-diameter micro end mill | Often replace | Regrinding cost and geometry risk may exceed tool value |
Coated finishing end mill | Regrind and recoat only when value supports it | Grinding removes coating from the edge area |
For buyers and production managers, the best policy is not “regrind everything.” A better policy is to sort tools by value, diameter, application, and failure mode. Keep reconditioned tools for suitable operations and reserve new tools for critical finishing, tight slots, and high-risk materials.
Practical Setup and Handling Tips
A sharpened end mill is only useful if it returns to the machine in controlled condition. After regrinding, clean the tool, protect the edge, record the new diameter, and separate it from new nominal-diameter inventory. If the tool is recoated, confirm whether the coating is appropriate for the target material.
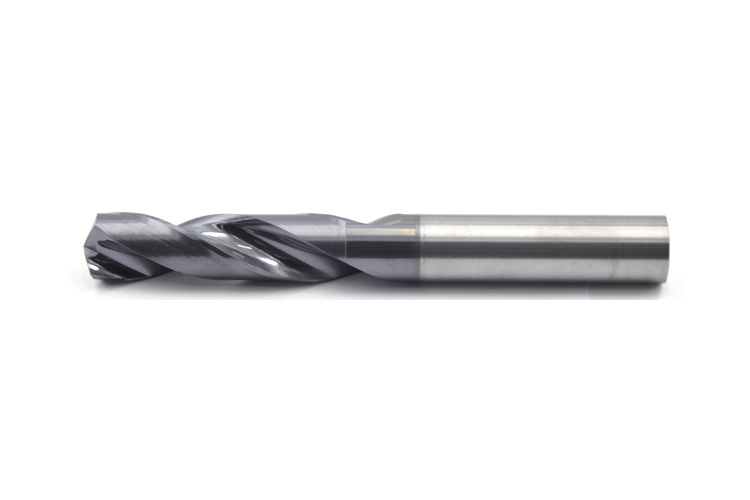
In production, also watch how the reground tool behaves in the first job:
– Spindle load should be reasonable compared with a known good tool.
– Chips should form cleanly rather than powdering or welding.
– The tool should not leave a raised center mark on pocket floors.
– Surface finish should be consistent across all flutes.
– The toolholder should be clean, and runout should be checked before blaming the grind.
What to Ask a Regrinding Supplier
If you outsource end mill reconditioning, ask questions that connect directly to machining results:
– What minimum diameter and flute length are worth regrinding?
– Do you regrind only the end face, or the OD and end face together?
– Can you measure and mark the final diameter?
– Can you restore or recommend the correct relief angles for the target material?
– Do you offer recoating after grinding?
– How do you protect the cutting edges during return shipping?
Clear answers help avoid mixing reconditioned tools into production as if they were new standard tools.
Clear answers help avoid mixing reconditioned tools into production as if they were new standard tools. For outsourced regrinding, the supplier should return the tool with protected cutting edges and a clearly marked final diameter.

Conclusion
End mill sharpening is a technical skill with direct financial impact. The savings come from restoring geometry, not from simply making a worn tool look sharp. A good process starts with a dressed wheel and a stable setup, then controls end-face squareness, gash clearance, relief angles, lip height, and side-edge diameter.
For CNC shops, mold manufacturers, and tooling buyers, the practical goal is simple: know which tools are worth regrinding, inspect the geometry after sharpening, and use reconditioned tools where their new size and condition fit the job.
HNCarbide supplies carbide end mills and cutting tools for production machining, mold work, and material-specific applications. If you are reviewing tool life, regrinding policy, or replacement tooling, a clear match between tool geometry and machining conditions will save more money than guesswork at the spindle.





