Skip to content
Tap Tooth Chipping, Solved: A Professional Guide to Diagnose Big vs Small Failures and Prevent Them
Table of Contents
Built for manufacturing engineers, CNC programmers, and quality leads who want reliable threads and predictable tool life.
Big chipping (large chunks missing) ruins threads outright; small chipping (tiny edge nicks) quietly raises torque, degrades accuracy, and often escalates.
The biggest drivers are chip congestion, mis-sized tap drill (excess thread percentage), lubrication gaps, and misalignment.
Fixes that work: match geometry to hole type (through vs blind), size the tap drill for realistic % of thread, keep chips moving, and use rigid cycles with stable tooling.
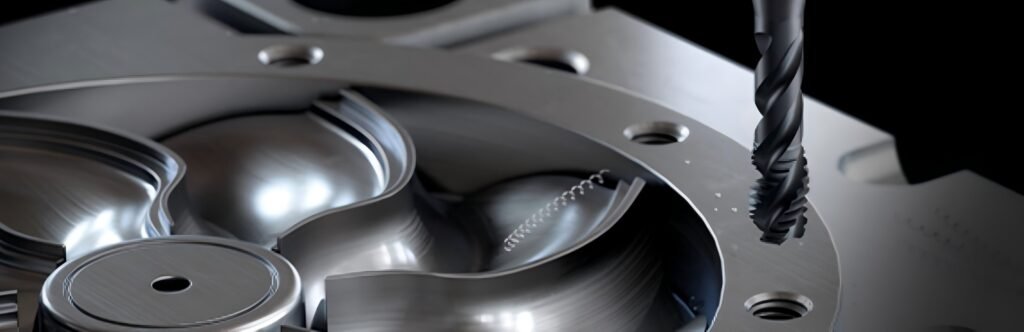
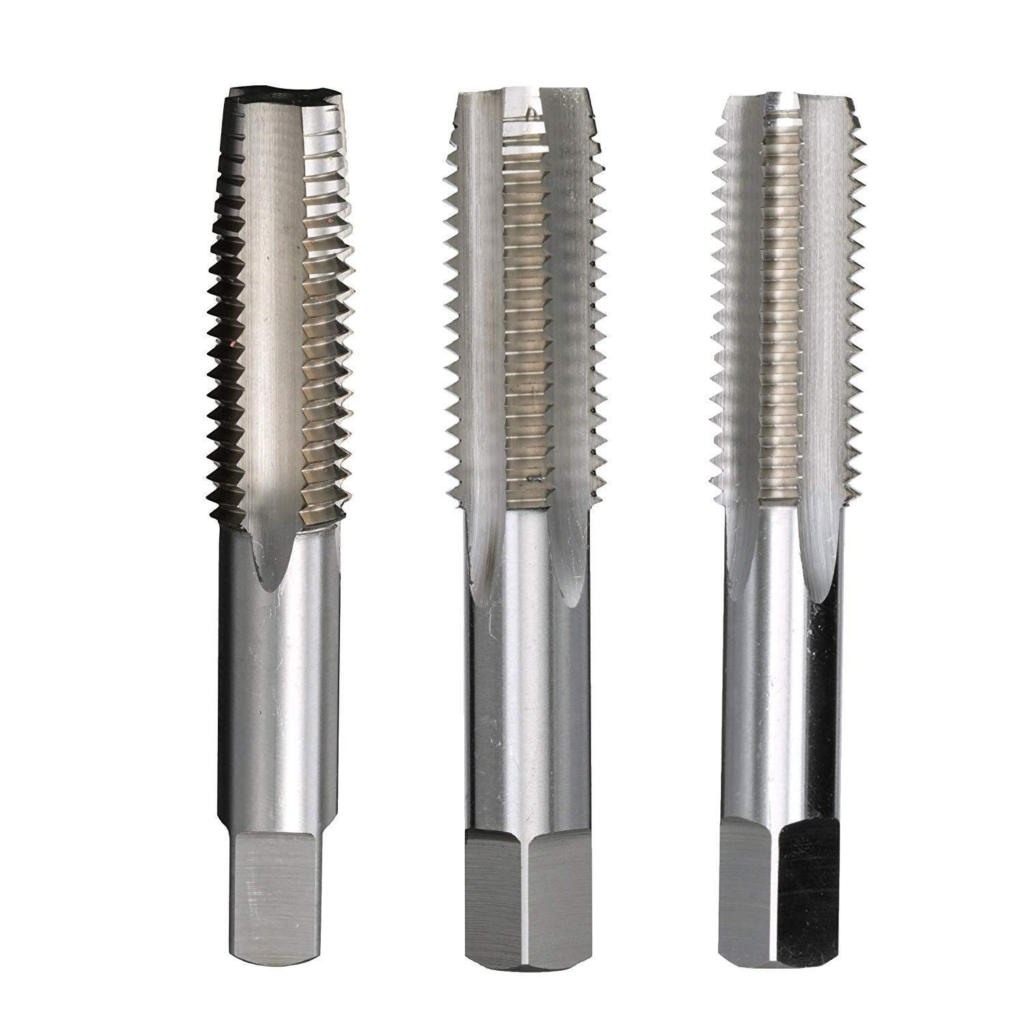
HNCarbide supplies taps for cutting threads—from versatile cutting taps to high-output cnc tap solutions—plus matched tap drill sets that make prevention repeatable.
Problem definition: what “tooth chipping” actually is
Tooth chipping is the localized fracture of a tap’s cutting edge. You’ll usually observe one of two severities:
Big chipping: crater-like fractures; entire tooth tips or multiple lands are missing, typically at the entry or first full threads. This almost always destroys the internal thread geometry immediately.
Small chipping: bright micro-notches at the cutting edge—often on the entry chamfer or an isolated land. Parts may still gauge, but pitch-diameter control and flank finish drift, tool torque climbs, and the defect tends to snowball.
A special but telling case is “complete-tooth” flaking where no cutting should occur (lands beyond the chamfer). That nearly always points to interference: chip packing, side rubbing against the wall, or chatter/vibration.
Visual diagnosis: how to tell big from small
Under 10–20× magnification:
Big chipping looks serrated and cratered; missing chunks span part of a tooth or several adjacent teeth.
Small chipping appears as pinpoint bright nicks at the very edge.
What it means for your parts: big chipping = immediate rejection; small chipping = “silent” loss of accuracy/strength and accelerated wear.
Quick reference (place this near your images in the CMS):
Mode | What you’ll see on the tap | What happens to the thread | Likely causes | First actions |
Big chipping | Large chunks missing at entry/first full threads | Torn crests, incomplete profile, scrap | Chip packing, bottoming, misalignment, undersized tap drill | Clear chips; open tap drill within spec; verify depth; check axis and holder |
Small chipping | Bright micro-notches on edges; tiny flakes | Parts may gauge but pitch drifts; rough flanks; rising torque | Heat/rubbing, poor lubrication, geometry mis-match | Reduce surface speed 10–20%; improve coolant aim/chemistry; swap to better-matched cutting taps |
“Complete-tooth” flaking | Damage on non-cutting lands | Random scratches; torque creeps up over run | Side rubbing, flute clogging, vibration | Boost chip evacuation; reduce runout; stiffen workholding |
Why chipping happens: the real root causes
1) Chip congestion & poor evacuation.
Chips wedge around the tool, spike torque, and hammer the edges—classic big-chipping trigger. Proper selection (spiral-point for through holes, spiral-flute for blind holes), plus cycle tactics like peck tapping for deep or stringy conditions, are decisive.
2) The hole is too small for the target thread class.
Using an undersized tap drill pushes thread percentage sky high; torque and edge stress follow. Standard practice targets ~75% “percentage of full thread” for many cut-tap cases (adjust per spec/material).
3) Lubrication/cooling doesn’t reach the cut.
Without a stable film at the edge, friction and micro-welds tear the cutting lip. Through-coolant taps or correctly aimed nozzles improve chip flow and reduce heat.
4) Misalignment & low rigidity.
If the tap axis isn’t collinear with the hole—or the setup vibrates—each revolution becomes a micro-impact at entry and reversal; edges nick and then crumble. Rigid cycles reduce synchronization error at reversal.
5) Geometry/grade/coating mismatch.
Through holes want spiral-point (push chips forward); blind holes prefer spiral-flute (pull chips back). Form taps eliminate chips entirely in ductile materials but require a larger prehole. Substrate and coating choices further tune heat/friction resistance.
6) Bottoming or depth mistakes.
Hitting the floor of a blind hole chips teeth immediately; add a safe allowance and keep synchronization tight.
7) Worn or casually re-ground taps.
Geometry drift increases rubbing; chips clog, heat rises, edges crumble—precisely the small-chipping pathway that later becomes big chipping.
Parameters & calculations you really need
A sane tap drill strategy balances thread strength and torque. For many general cases, about 70–75% of full thread is a practical starting point (check your thread class and material; higher percentages escalate torque sharply). Authoritative tap-drill charts that anchor this guidance trace back to Machinery’s Handbook.
Use this quick, practical guide
Target % of thread | Good for | Torque & chipping risk | Notes you can act on |
60–65% | Ductile materials, deep engagement, small diameters | Lowest torque → lowest chipping risk | Great for cycle time & tool life; confirm pull-out strength |
70–75% | General production baseline | Balanced strength vs. torque | The common choice for taps for cutting threads |
80–85% | Short engagement or critical pull-out | Significantly higher torque | Only with rigid setups, abundant lube, robust cnc tap |
90%+ | Special cases only | Very high torque; frequent edge failure | Avoid unless spec-mandated; validate with gauges first |
Tip: drills cut variably—measure actual hole size and add a small entry chamfer matching the tap’s chamfer to avoid slamming sharp edges.
Selection guide: geometry × hole type × material
Through holes: spiral-point cutting taps push chips forward—best for clearance and low torque.
Blind holes: spiral-flute cutting taps pull chips back up and out—best for avoiding bottom-end congestion.
Ductile alloys: roll/form taps create threads by displacement—no chips, often longer tool life and faster cycles; they do require a larger prehole.
Use this matrix as your default decision tree:
Material group | Through hole (preferred) | Blind hole (preferred) | When to switch to form tapping | Notes for cnc tap setup |
Aluminum & copper alloys | Spiral-point cutting taps | Spiral-flute cutting taps | Excellent candidate—chip-free and fast | Higher RPM; generous coolant; rigid cycle if available |
Low-carbon/mild steels | Spiral-point cutting taps | Spiral-flute cutting taps | Optional if material is ductile | Add light peck if chips bird-nest |
Austenitic stainless | PM-HSS or carbide cutting taps | Carbide spiral-flute, through-coolant ideal | Sometimes risky (galling); evaluate | Reduce SFM; maximize lubrication; ensure alignment |
Cast iron | Straight-flute / low-helix cutting taps | Straight-flute / low-helix | Not recommended | Dry/MQL often OK; watch abrasive wear |
>35 HRC steels | Carbide cutting taps | Carbide spiral-flute, short chamfer | Not applicable | Conservative SFM; rigid tapping only |
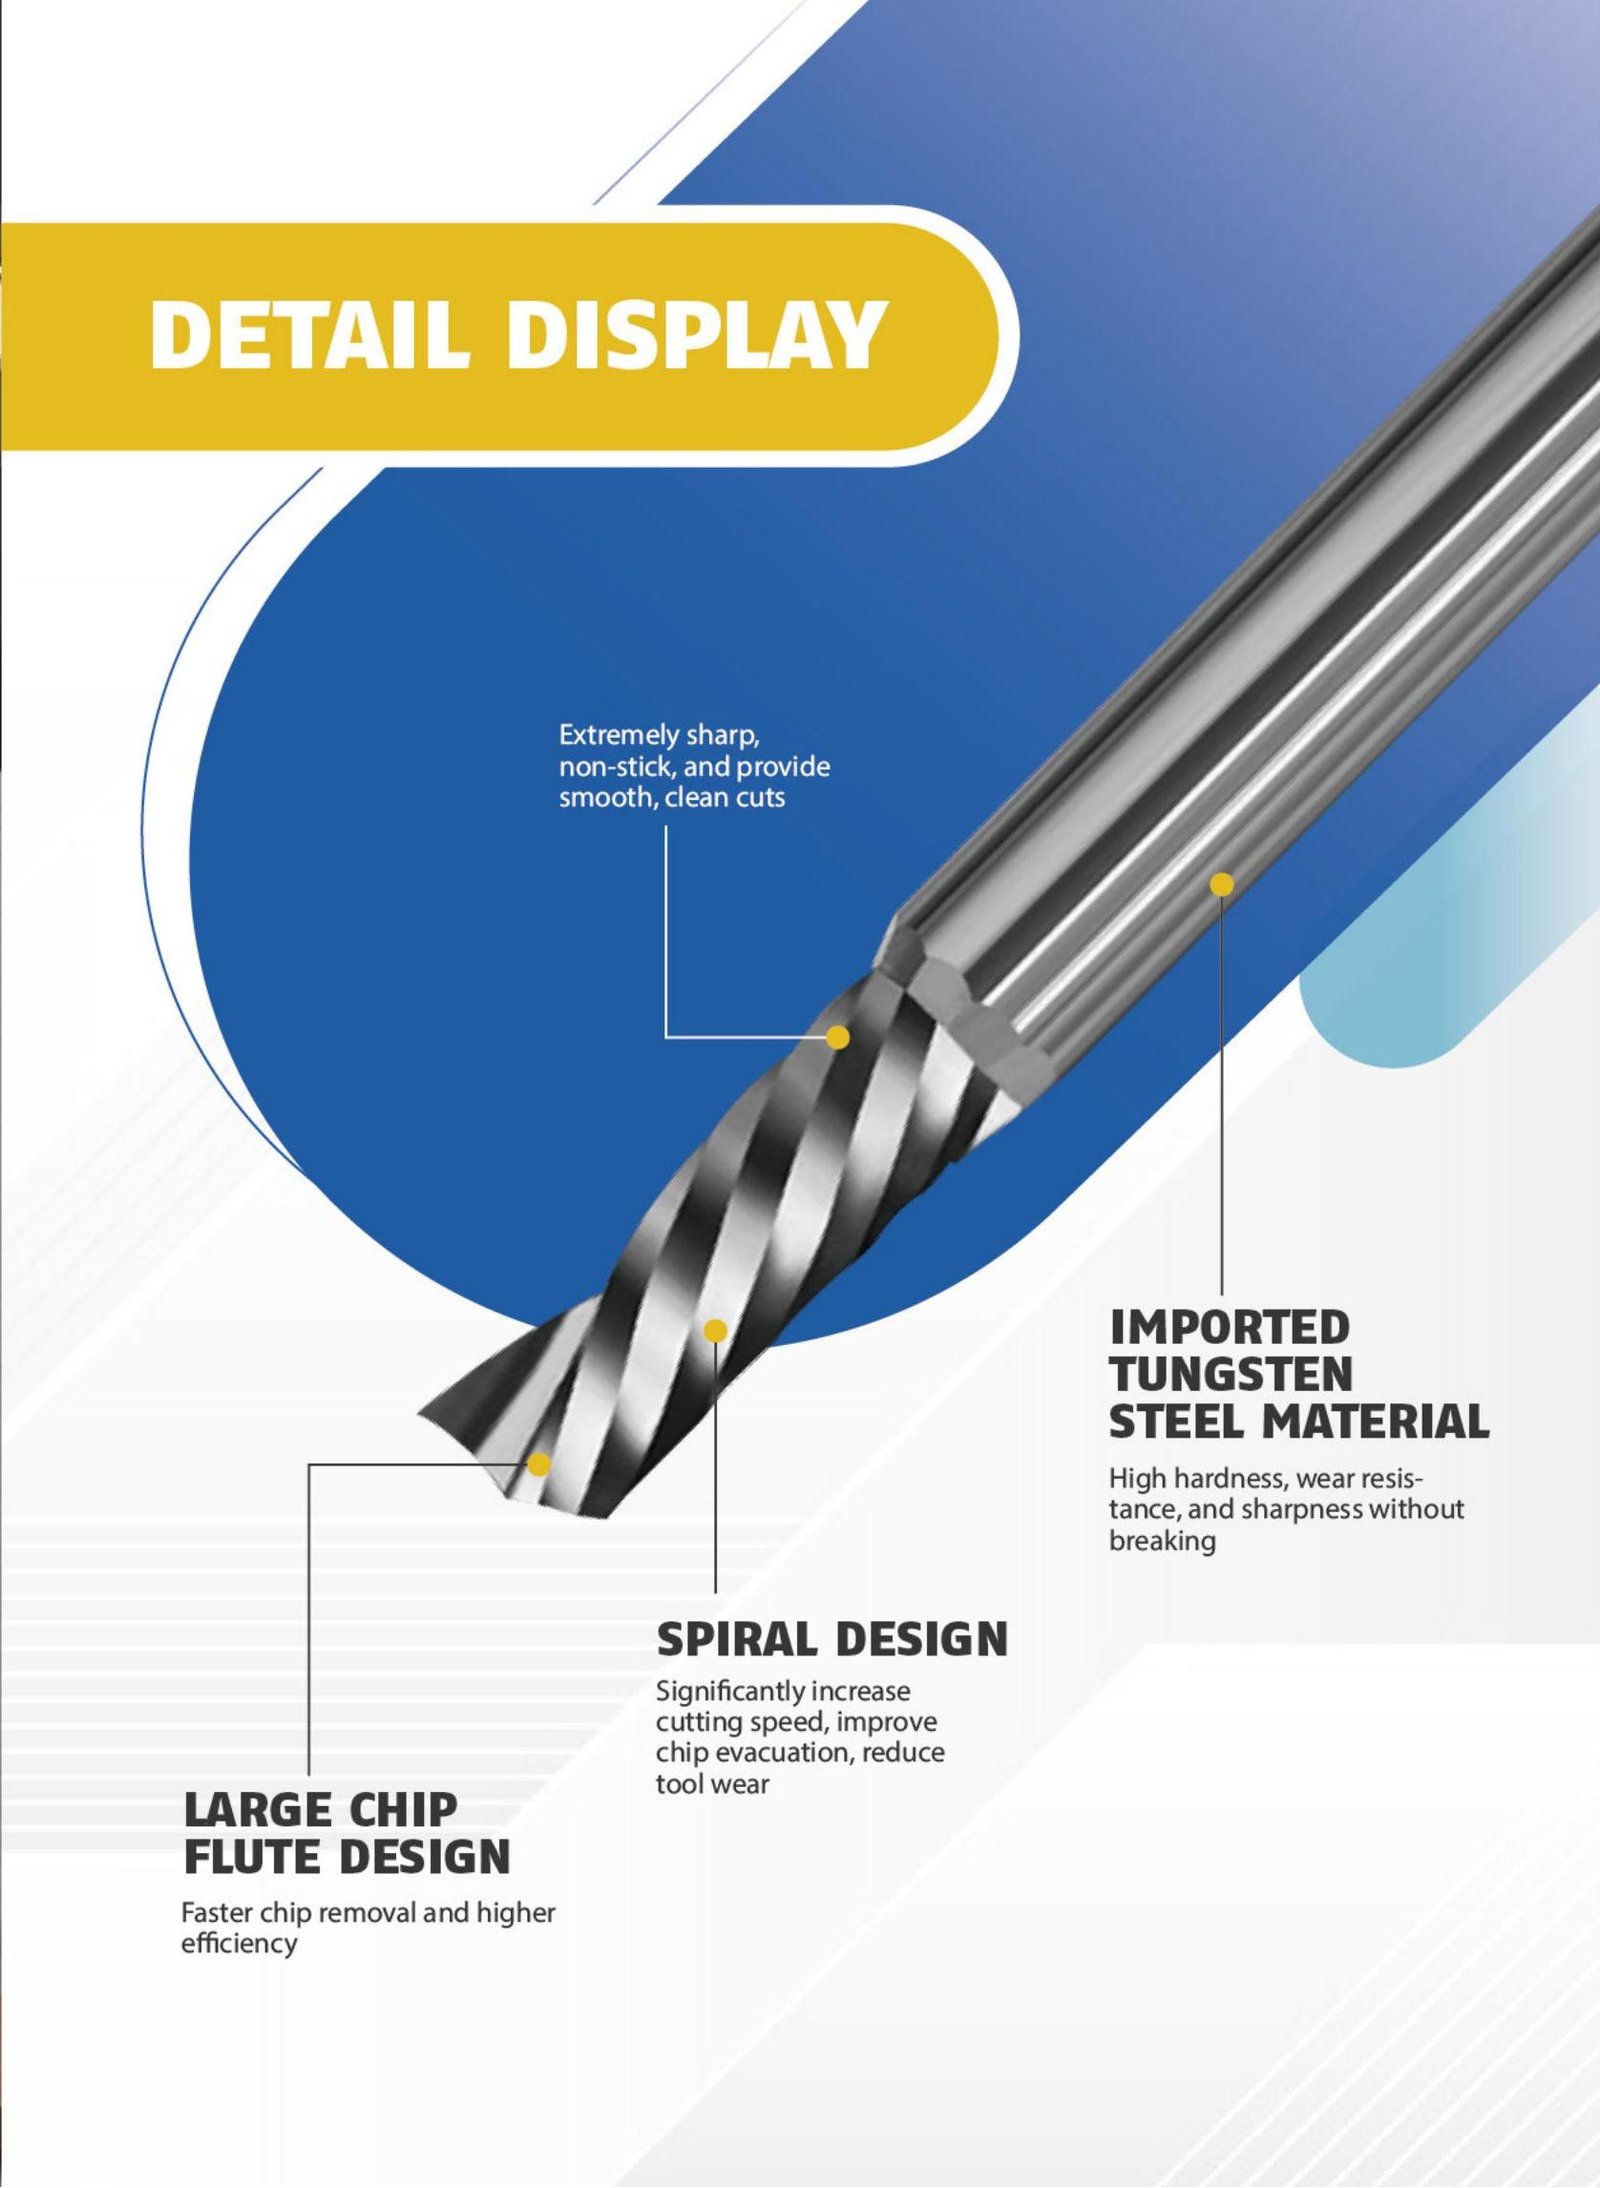
Single-Flute Cutter Catalog
Click the button below to view our single-flute cutters and detailed specs to choose the right tool.
Operating practices that prevent chipping
Match tool to hole type before touching parameters. Through = spiral-point; blind = spiral-flute; consider form taps for ductile materials to sidestep chip issues altogether.
Set a realistic thread percentage with the correct tap drill. “More percent” is not “more quality”—after ~75%, the torque penalty rises steeply with minimal strength gain.
Aim coolant into the engagement and consider through-coolant taps for deep blind holes. If chips stall, try peck tapping (supported on many controls and shown by OSG for deep or hard cases).
Use rigid cycles on capable machines to keep feed and spindle synchronized; it helps depth control and reduces reversal shock.
Verify runout and stiffness—clean holders, minimal float (unless an older machine requires it), and solid workholding to avoid chatter.
Inspect edges proactively. Replace at the first repeatable sign of small chipping rather than waiting for catastrophic failure. Reference OEM troubleshooting to triage recurring breakage.
Troubleshooting on the floor: symptom → diagnosis → action
You notice… | It usually means… | Quickest lever | If it persists… |
Spindle load spikes during tapping cutting | Chips wedging; evacuation failing | Switch geometry (spiral-flute for blind holes), add peck, increase coolant | Open tap drill within spec; drop SFM 10–20% |
Threads gauge but look rough | Small chipping / rubbing | Improve lubrication/coating; replace worn tool | Verify axis alignment/runout; lower thread percentage |
Tap breaks right at reversal | Bottoming; sync/overshoot issue | Verify program depth & chamfer; use rigid cnc tap | Shorter chamfer; add through-coolant tool; confirm control parameters |
High torque from the very first part | Hole undersize or hard entry | Re-check tap drill; add countersink | Tougher substrate (PM-HSS/carbide) or different coating |
For deep-hole chip issues specifically, modern guidance emphasizes dynamic feed tweaks and not blindly slowing everything down; both over-slow and over-fast can worsen chip clogging.
HNCarbide solutions mapped to these problems
Pro-Cut Series (HSS-E / PM) — general-purpose cutting taps
Spiral-point and spiral-flute options across metric, UNC/UNF, BSP, NPT.
Relief geometry tuned for low rubbing torque; controlled edge hone resists small chipping.
Coatings (TiCN/AlTiN) for heat and lubricity.
Ultra-Chip Series (micro-grain carbide) — high-output cnc tap
Precision-ground lands with micron hones to deter micro-fracture.
Polished flutes for rapid chip flow; optional through-coolant for deep/blind holes.
Ideal for stainless and abrasive irons where stability matters most.
Form-Pro Series (roll/form taps)
Chip-free threads in ductile alloys (Al, Cu, many mild steels).
Requires a larger prehole—check our charts or ask us to size the tap drill for your target % thread.
Matched tap drill sets & holders
Drill sizes labeled by target % thread (e.g., 70/75/85%) make setup explicit and repeatable.
Rigid-tapping–ready ER chucks and minimal-float holders validated for low runout.
Whether you need taps for cutting threads in mixed materials, chip-free forming options, or a turnkey cnc tap kit for a cell, we’ll propose the geometry, coating, and start parameters that minimize both big and small chipping.

Conclusion: five things to do this week
Audit hole sizes against your target % of thread; update traveler sheets with the exact tap drill per callout.
Match tool to hole type (through → spiral-point; blind → spiral-flute; ductile → consider form tapping).
Aim coolant and manage chips; add peck or through-coolant where needed (especially deep/blind holes).
Use rigid cycles on capable machines; synchronize feed and spindle to protect the edge at reversal.
Standardize inspection for early small chipping and replace on schedule, not after failure; follow OEM breakage guides.
FAQ
Q1: Is “more percent thread” always better?
No. Above ~75% on cut taps, torque rises quickly while strength gains flatten. Size the tap drill to the application, thread class, and material—don’t default to 100%.
Q2: When should I switch from cut taps to form taps?
When the material is ductile and chip management is the bottleneck. Form taps generate no chips, often run faster, and can extend tool life—provided you adjust the prehole size.
Q3: Does rigid tapping really help with chipping?
Yes. Synchronizing feed and spindle at the pitch reduces impact at reversal and improves depth control in blind holes, lowering edge abuse—especially when compared with poorly tuned floating cycles.
Q4: Is peck tapping worth trying?
It’s situational but useful in deep or hard cases to interrupt chip packing—OSG demonstrates it as a viable tactic when chips won’t clear.