When your parts get smaller, everything becomes less forgiving. A tiny amount of runout that would be “acceptable” on a standard cutter can snap a micro tool instantly. Chip evacuation becomes a bottleneck. Heat builds faster. And a slightly wrong flute count can turn a clean pocket into chatter marks.
That’s why miniature end mills deserve their own selection logic. In this guide, we’ll break down how to choose the right geometry, flute count, and reach—so you can machine micro features with better stability, surface finish, and tool life. Along the way, we’ll naturally cover key variants such as miniature carbide end mills, miniature ball end mills, and long reach miniature end mills, plus what to look for when sourcing from China miniature end mills suppliers.
What Makes Miniature End Mills Different?
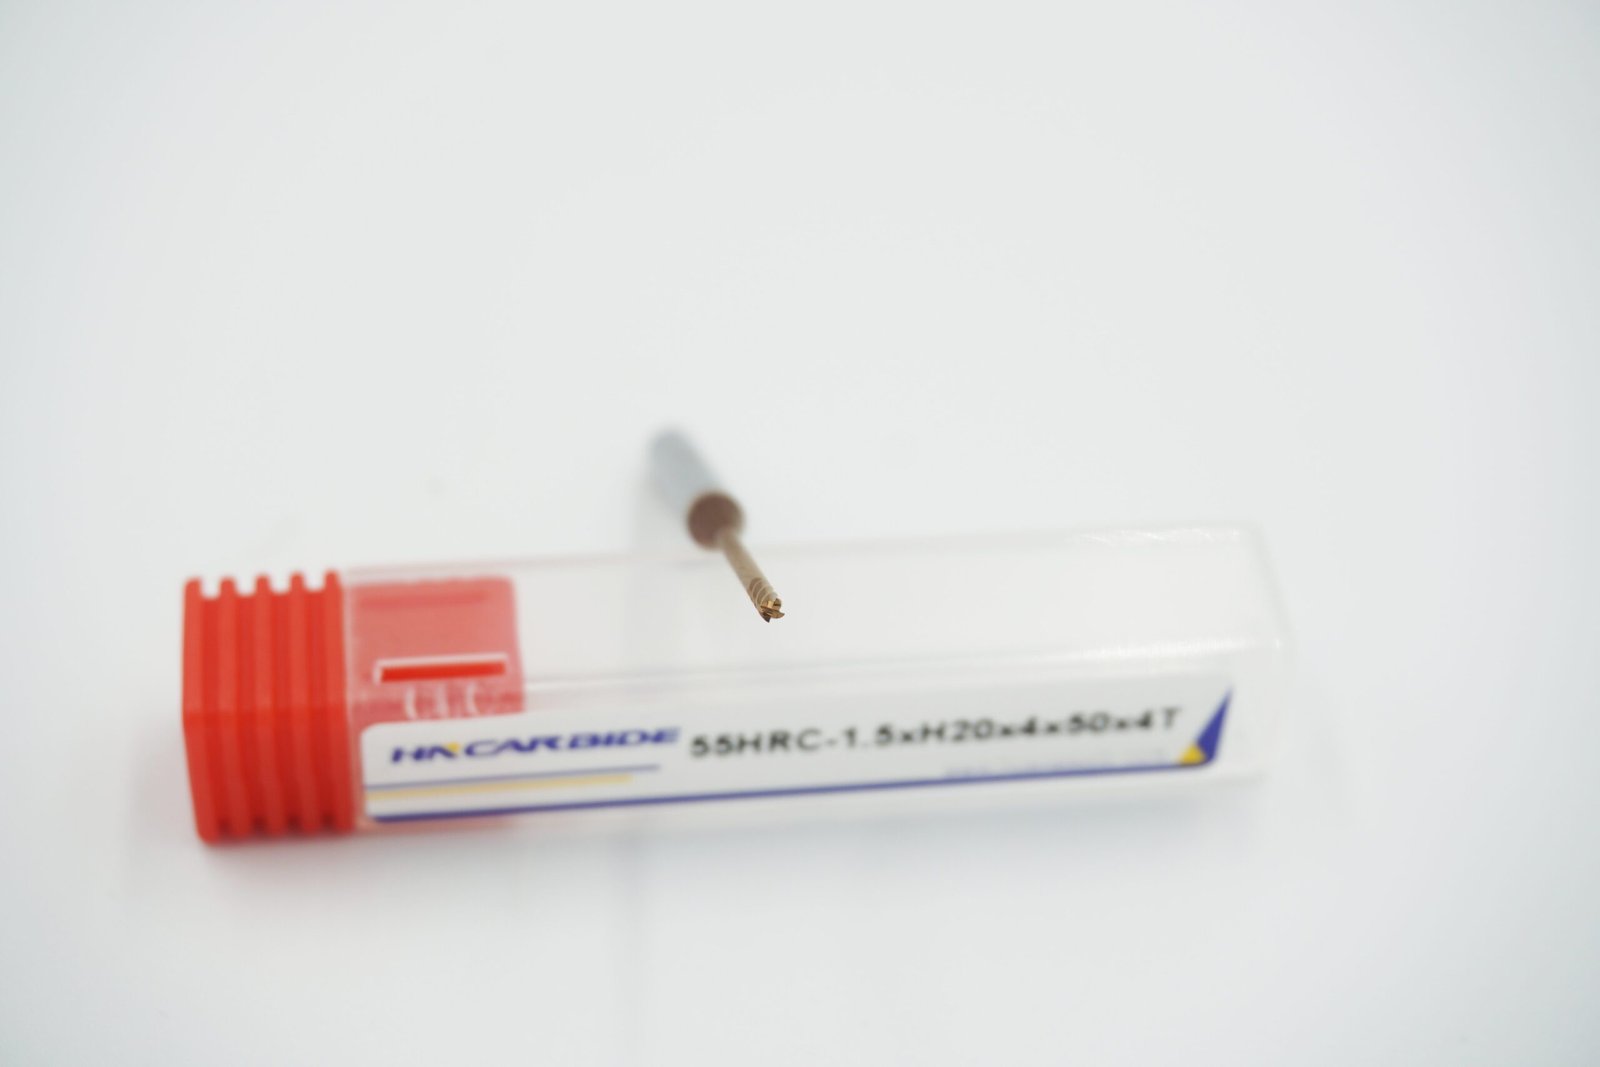
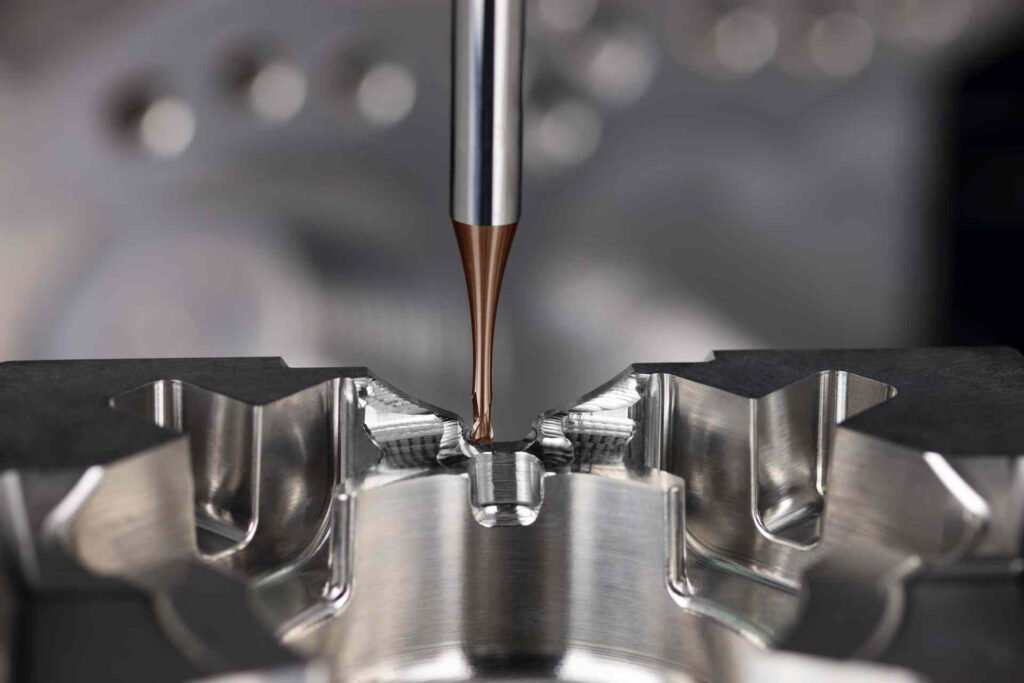
Miniature end mills typically refer to small-diameter cutters used for micro slots, tiny pockets, narrow ribs, and fine 3D features. The smaller the diameter, the more the tool behaves like a flexible needle rather than a rigid bar.
Key differences vs standard end mills:
Deflection dominates results. Even light cutting forces can push the tool off-path, affecting size and finish.
Runout becomes a killer. Small tools magnify runout and can chip or break quickly.
Chip evacuation is harder. Micro flutes have limited space; chips pack easily and cause edge failure.
Heat rises fast. Less mass means less ability to absorb heat; coatings and correct parameters matter more.
The takeaway: selection should prioritize stability, chip control, and consistency—before chasing aggressive feed.
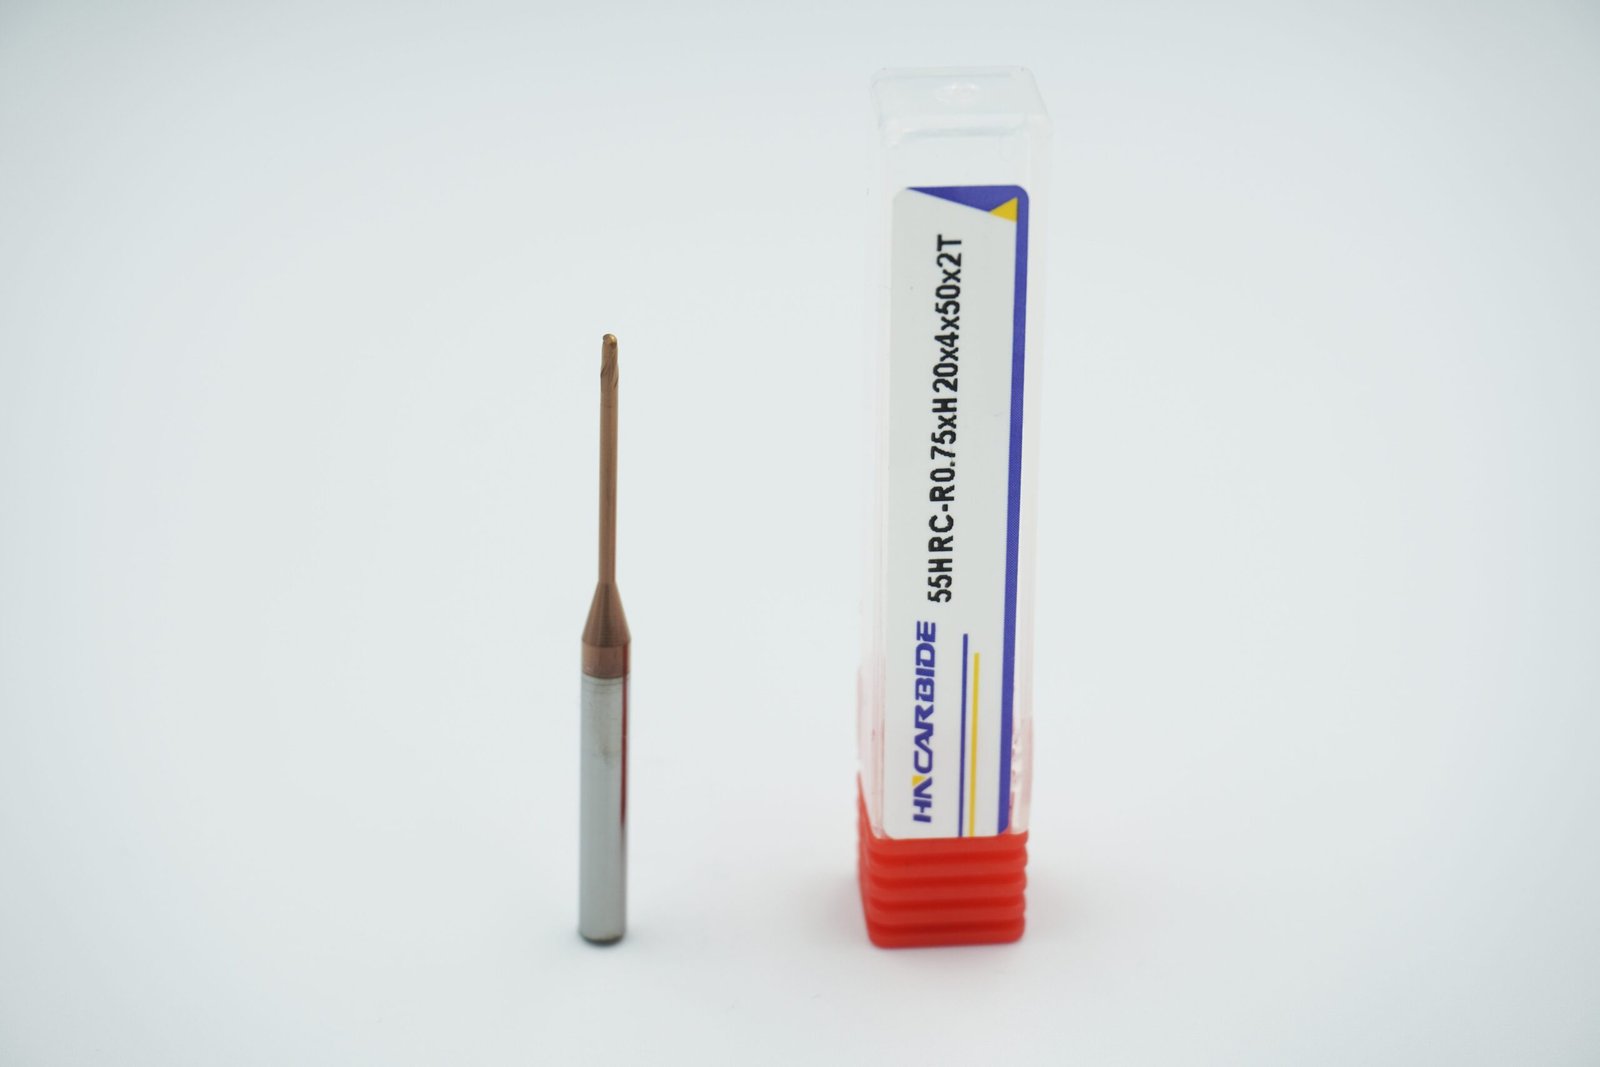
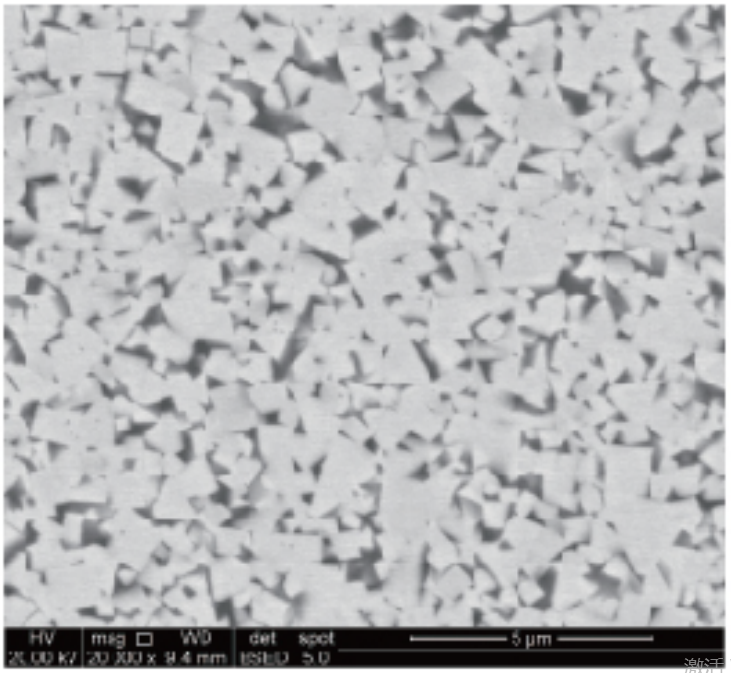
Why Miniature Carbide End Mills Are the Default Choice
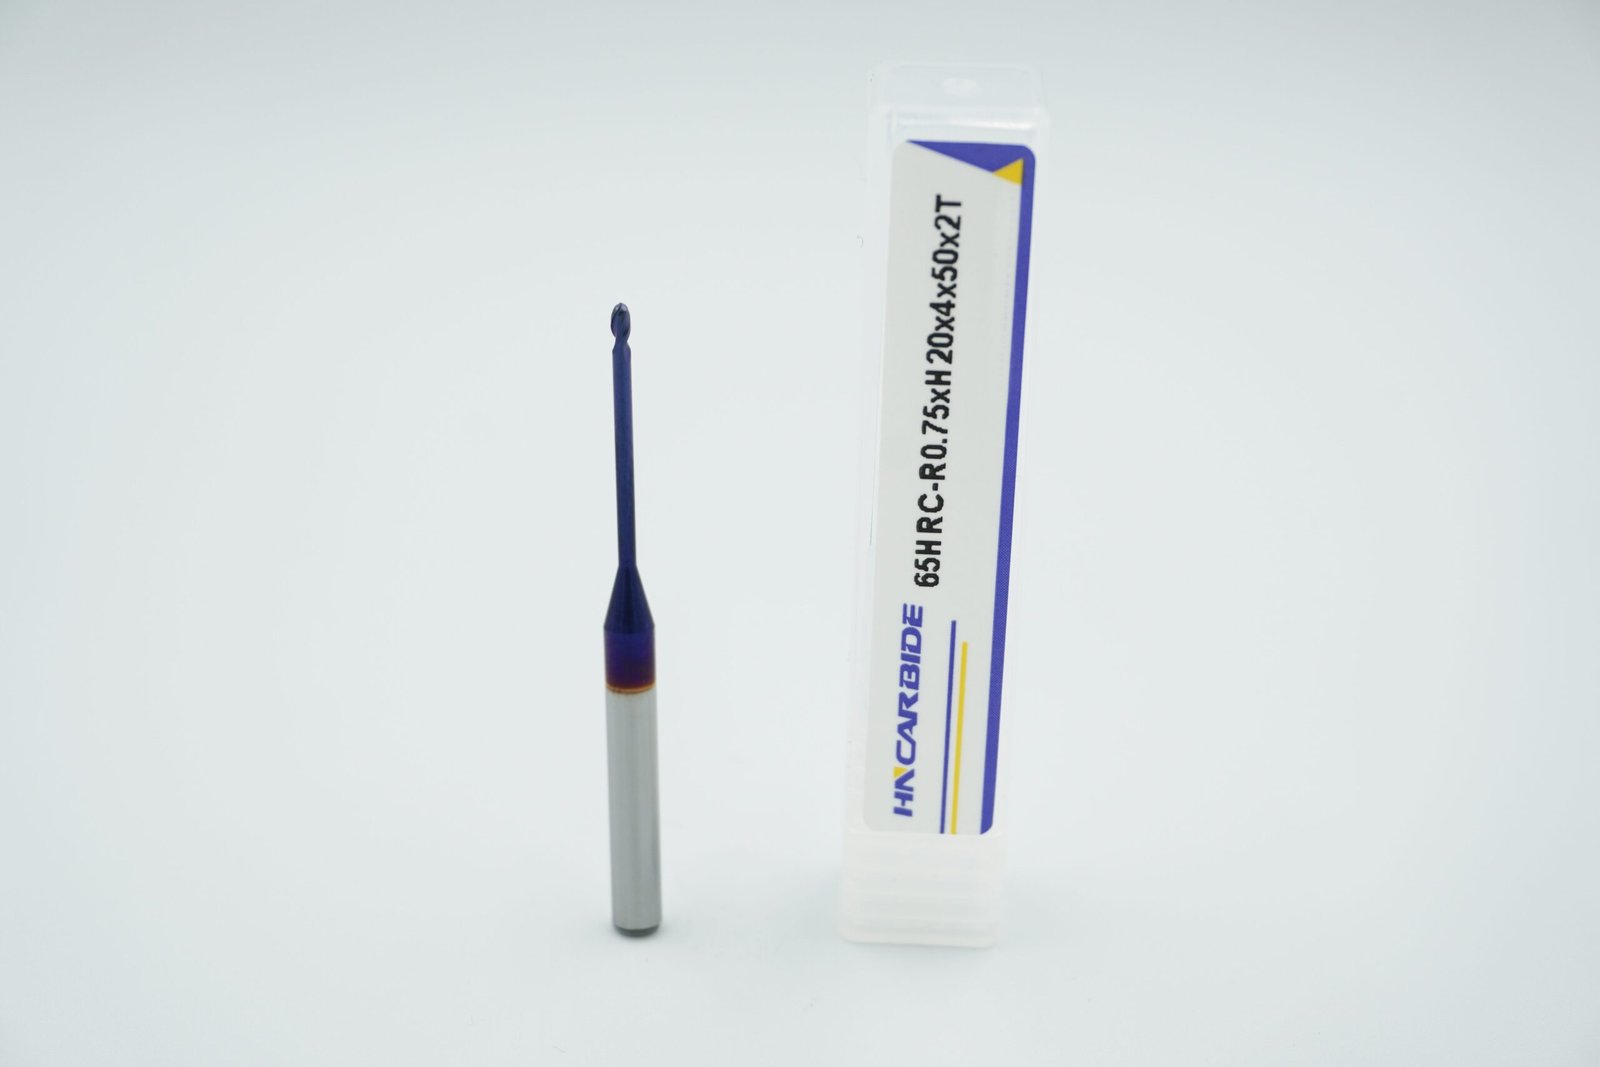
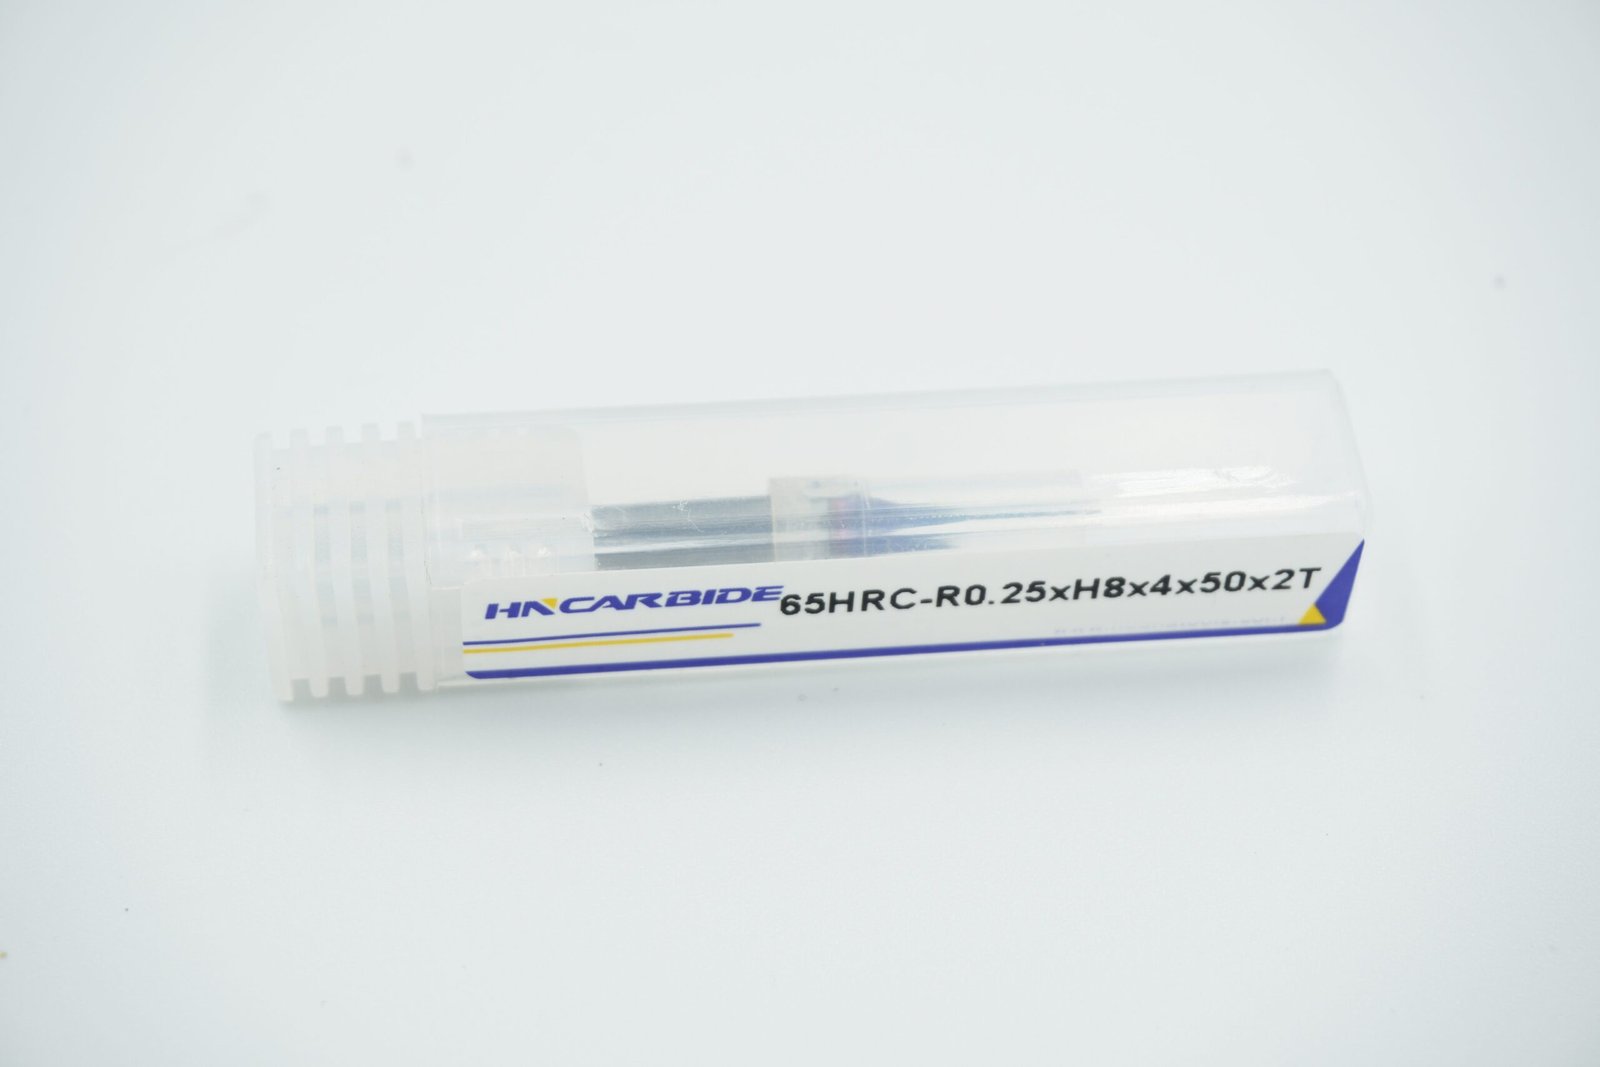
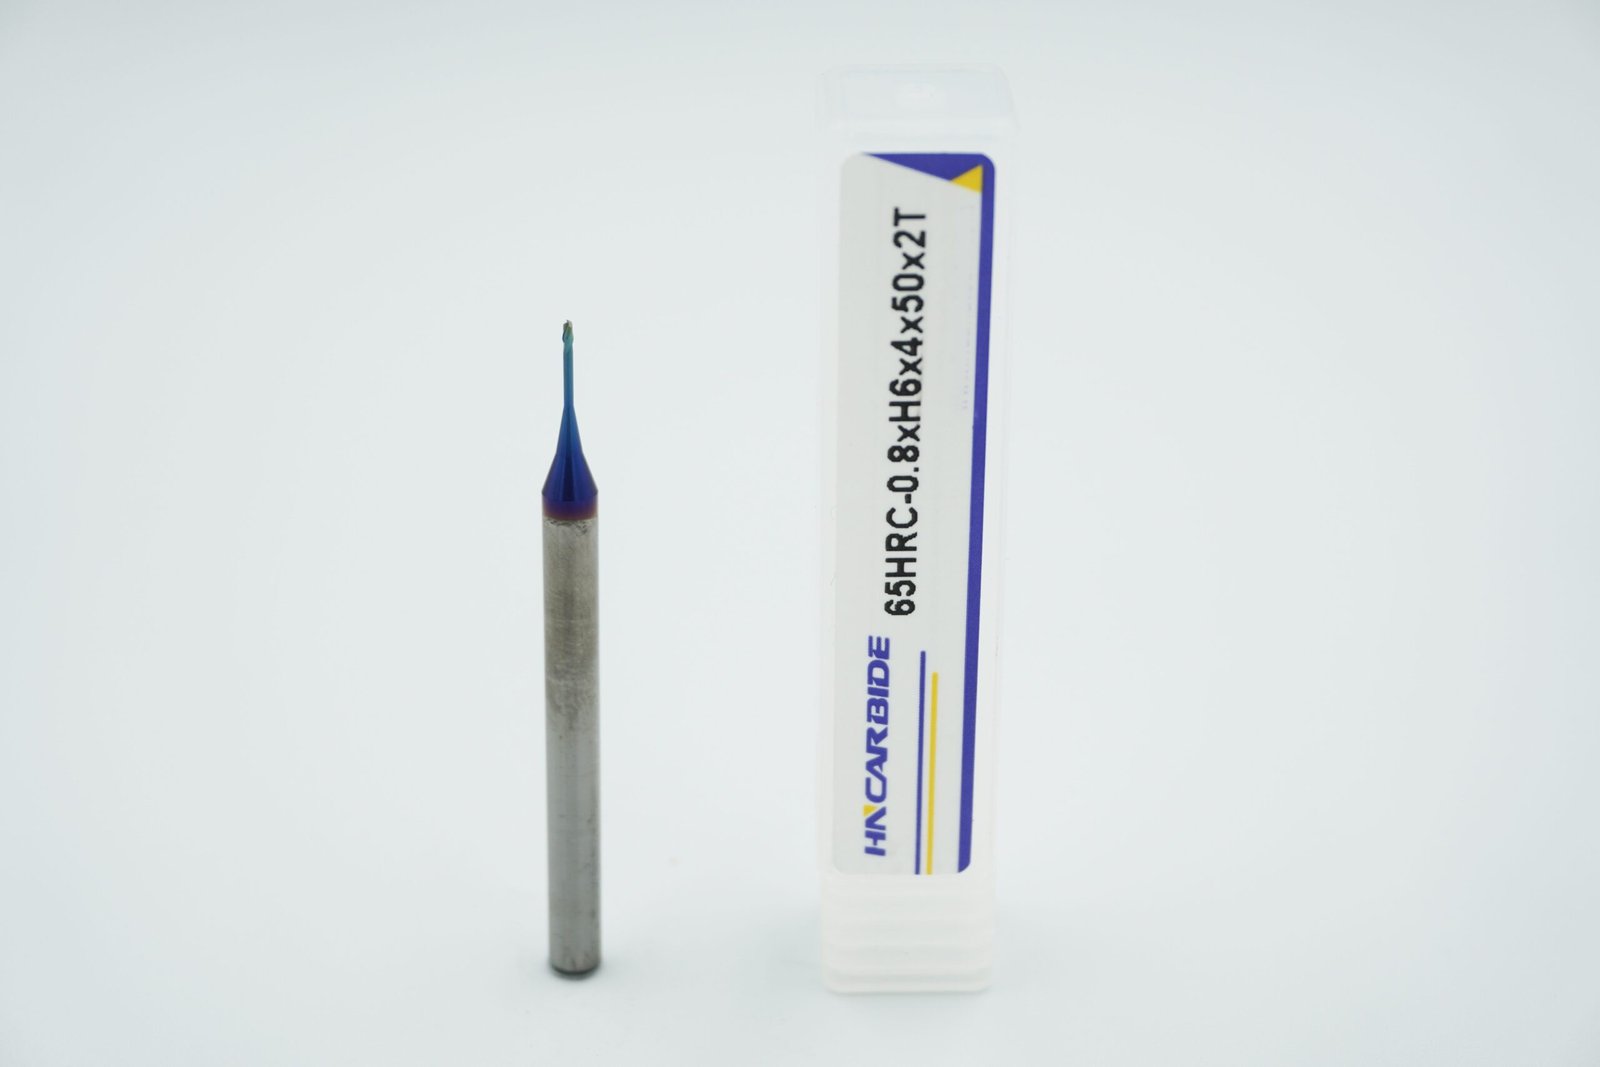
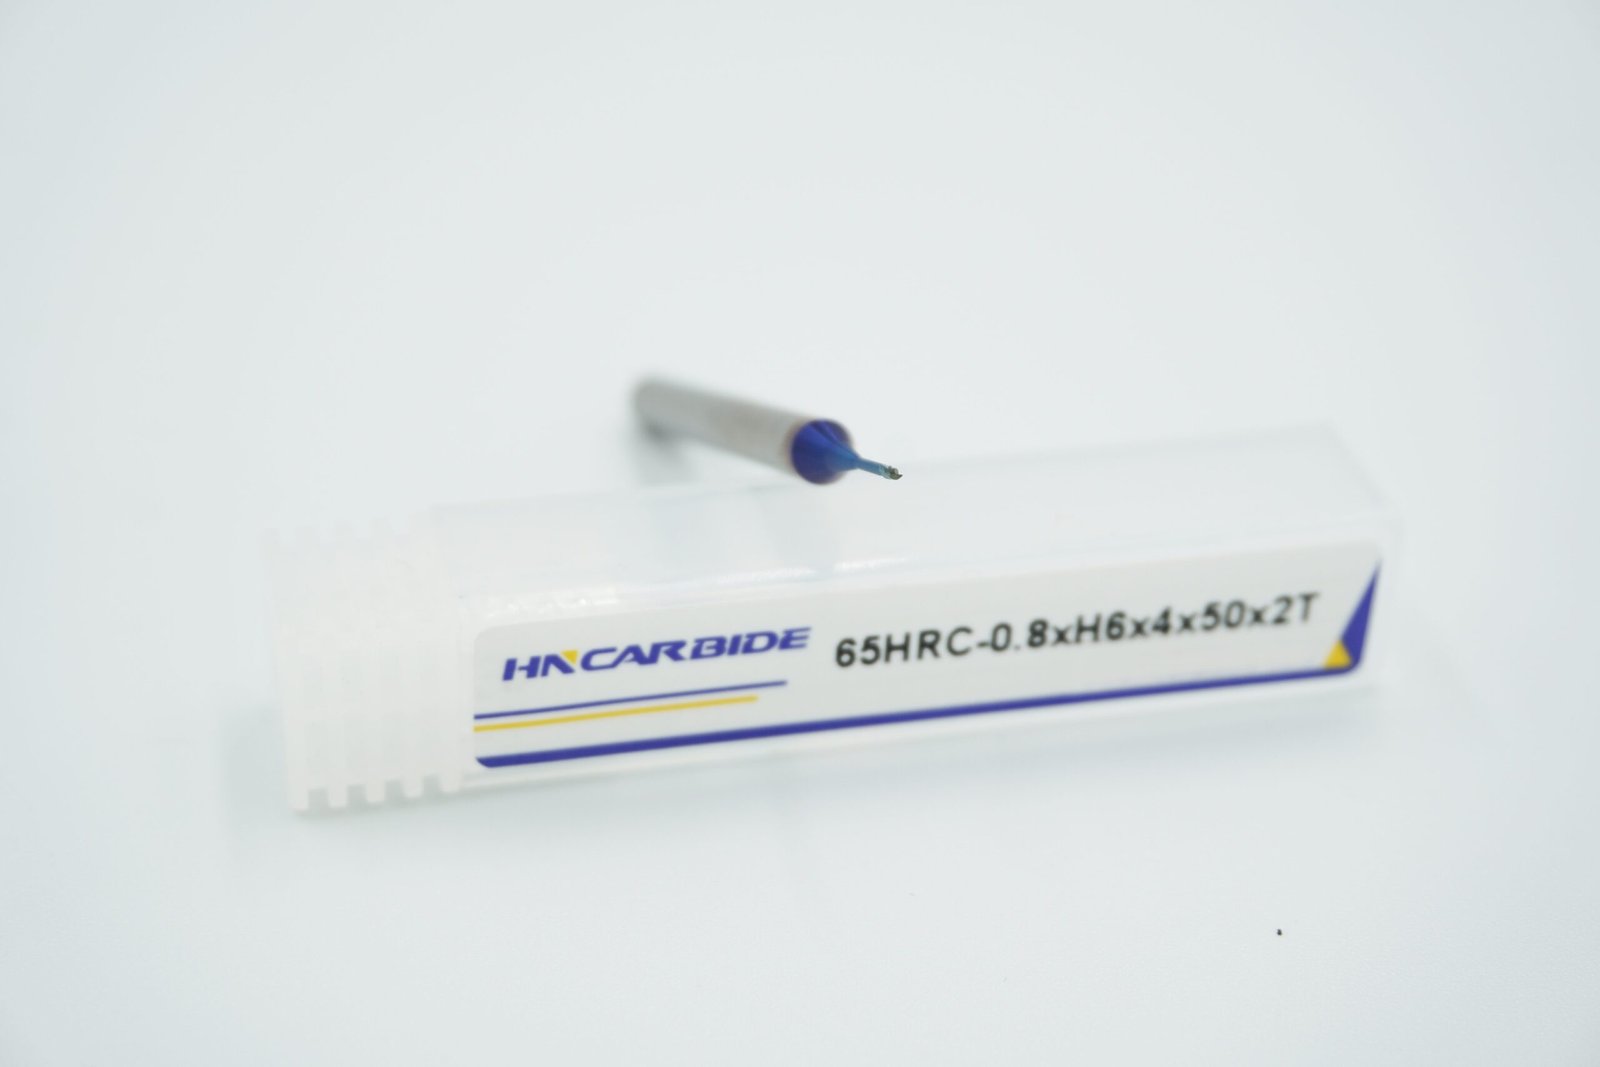
For micro machining, miniature carbide end mills are usually the best baseline option because carbide offers high stiffness, wear resistance, and edge retention at high spindle speeds. Compared to HSS, carbide is more brittle—but for micro tools, rigidity and hot hardness are the real advantage.
Choose carbide when you need:
Reliable size control and repeatable finish
Higher cutting speeds with stable edges
Better tool life in steels and stainless steels
Predictable performance in hardened materials (with the right grade/coating)
If your work is mostly aluminum or softer alloys, carbide still performs well—just ensure geometry supports chip evacuation and prevents built-up edge.
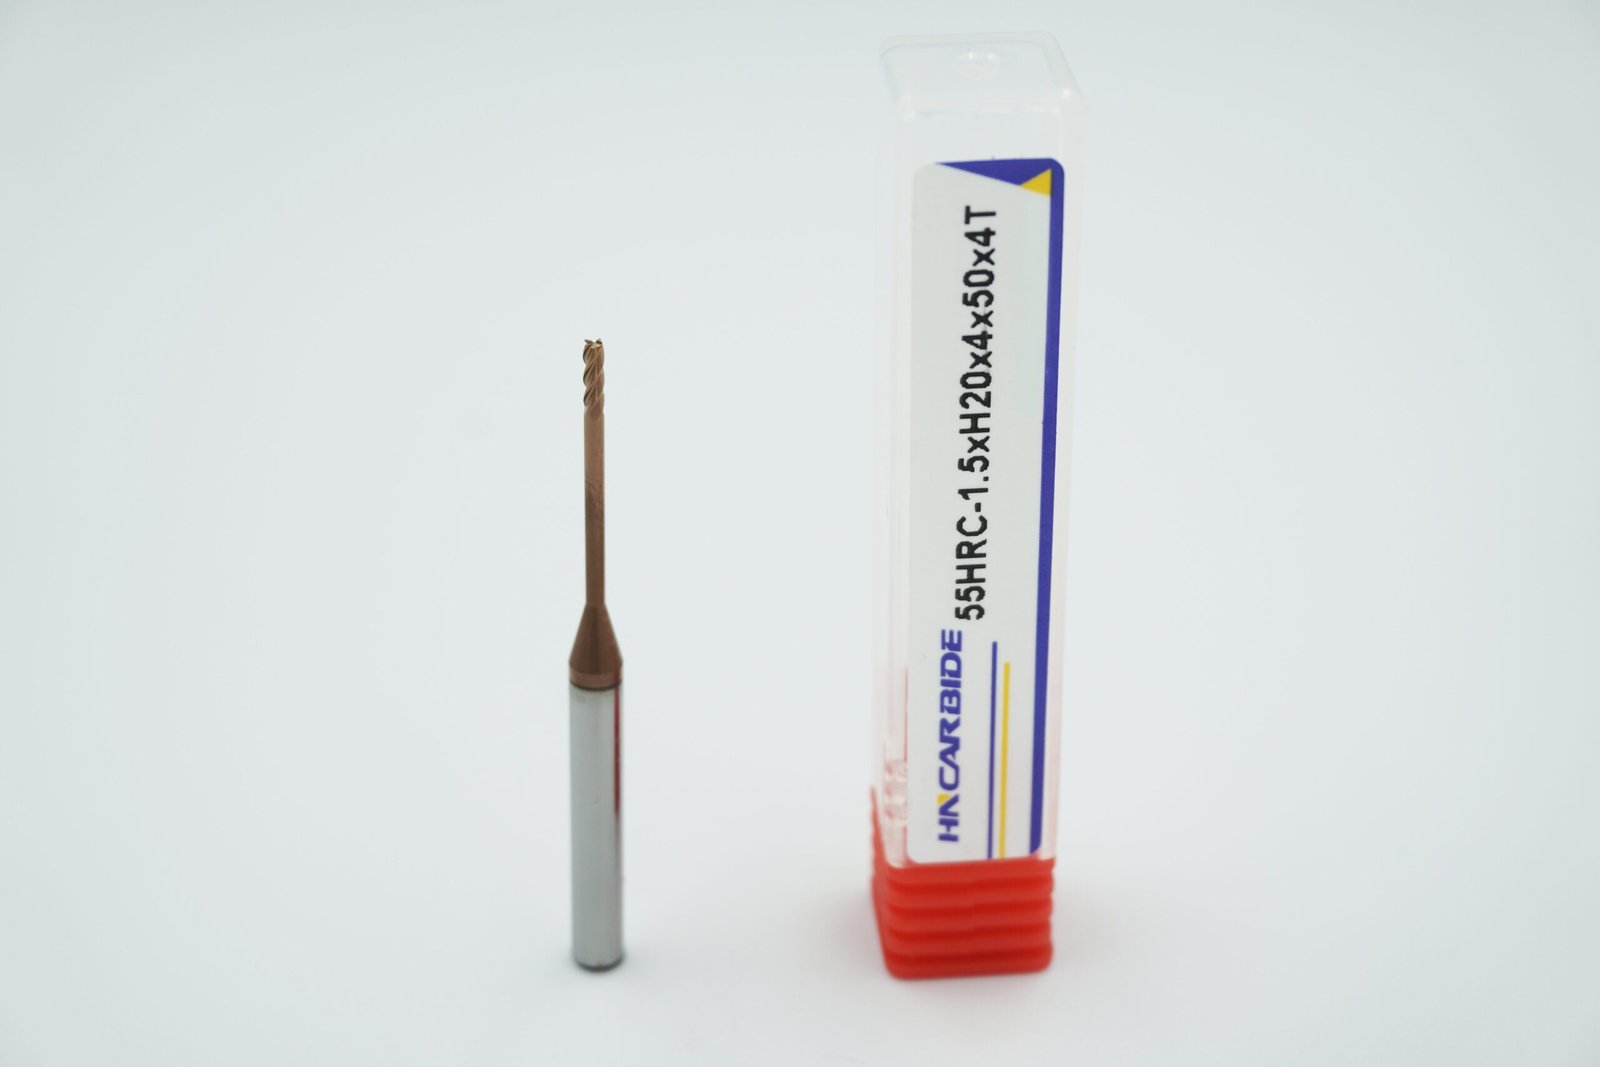
2 Flute vs 4 Flute: The Most Important Decision
For miniature end mills, flute count is not a “preference”—it’s a functional choice tied to chip load, evacuation space, rigidity, and surface finish.
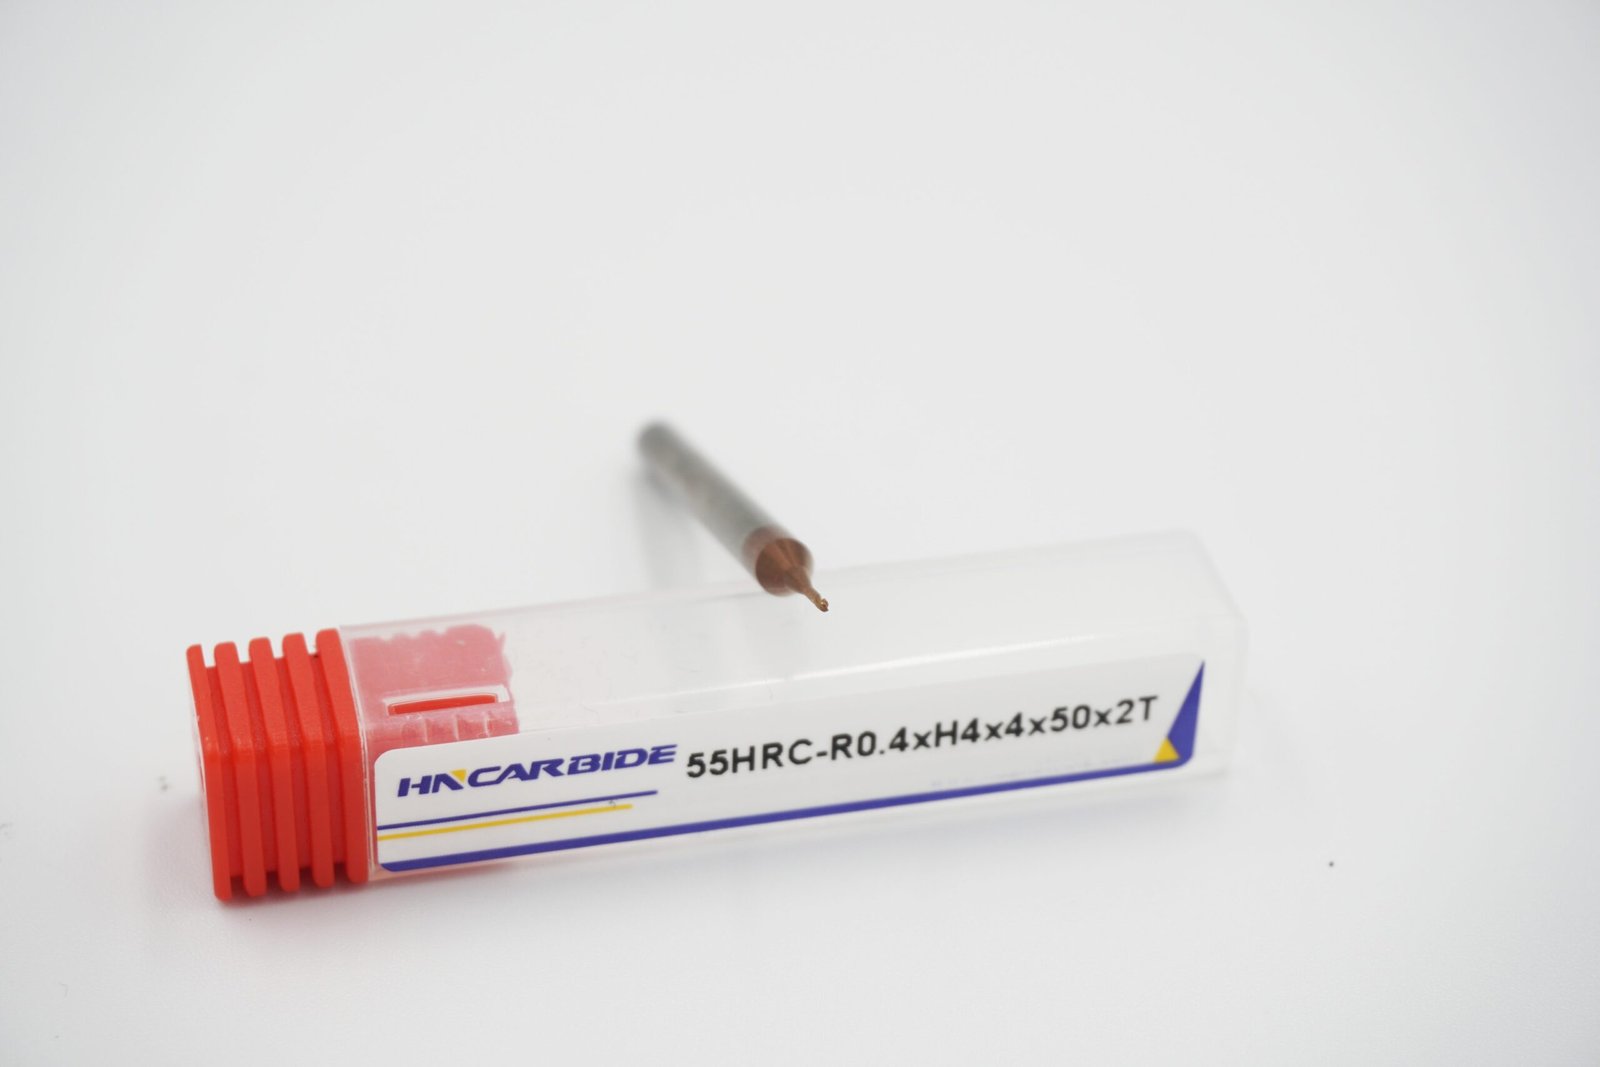
2 Flute Miniature End Mills: When to Choose
2-flute designs are the go-to for:
Deep slots and narrow pockets
Sticky materials (many aluminum alloys)
Long reach setups where deflection risk is high
Situations where chip evacuation is the priority
Because there’s more flute space, chips clear more easily and cutting forces are often lower. This is especially helpful for long reach miniature end mills where tool overhang increases leverage and deflection.
4 Flute Miniature End Mills: When to Choose
4-flute designs are best for:
Finishing and semi-finishing
Shallow pockets or side finishing
Harder steels where edge support matters
Applications where surface finish is a top priority
More flutes increase core strength and reduce vibration, often producing smoother walls. The tradeoff is reduced chip space—so your parameters and coolant strategy need to prevent packing.
Rule of thumb:
If chip evacuation is your risk, choose 2 flute.
If vibration/finish is your risk, choose 4 flute.
Square vs Ball: Match the Cutting Edge to the Feature
Square End Miniature End Mill (Flat/Square)
Square end tools are best for:
They’re also easier to program for dimension control and are typically used for general micro milling.
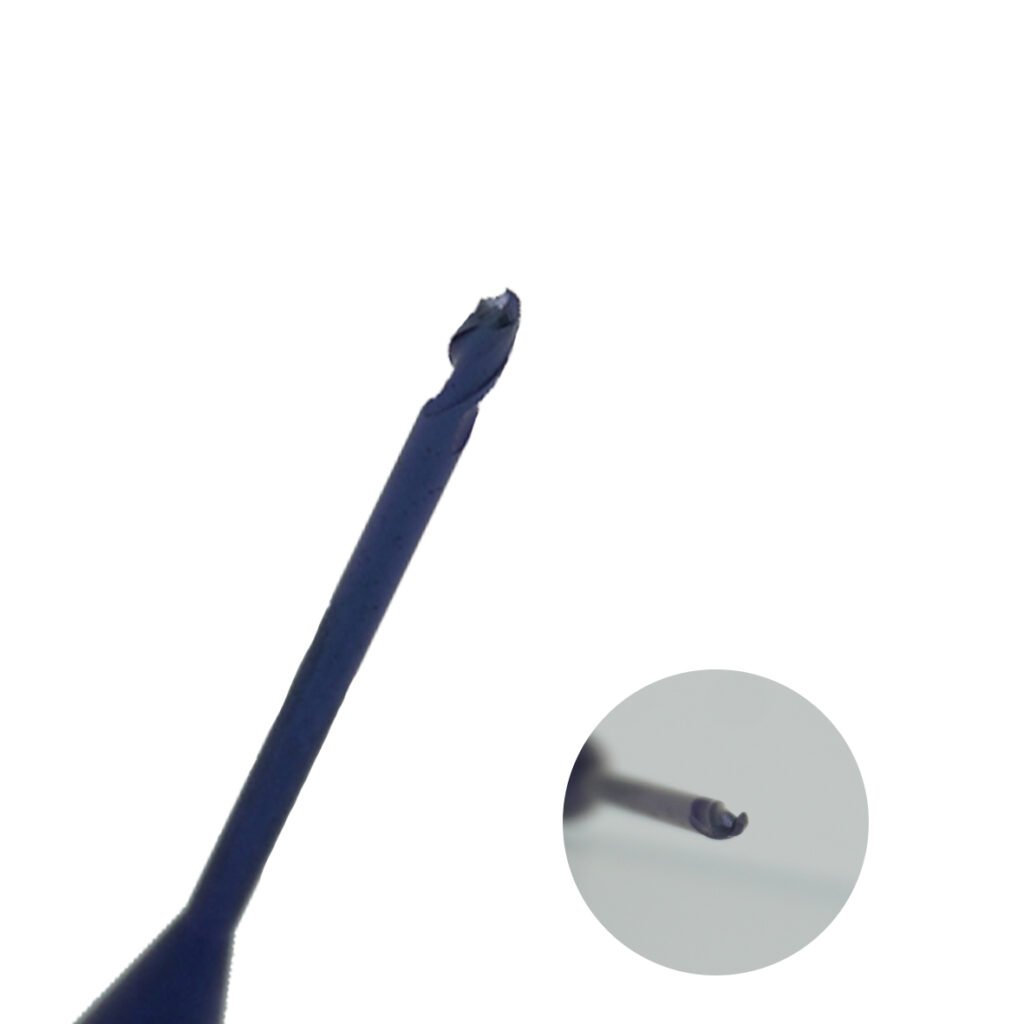
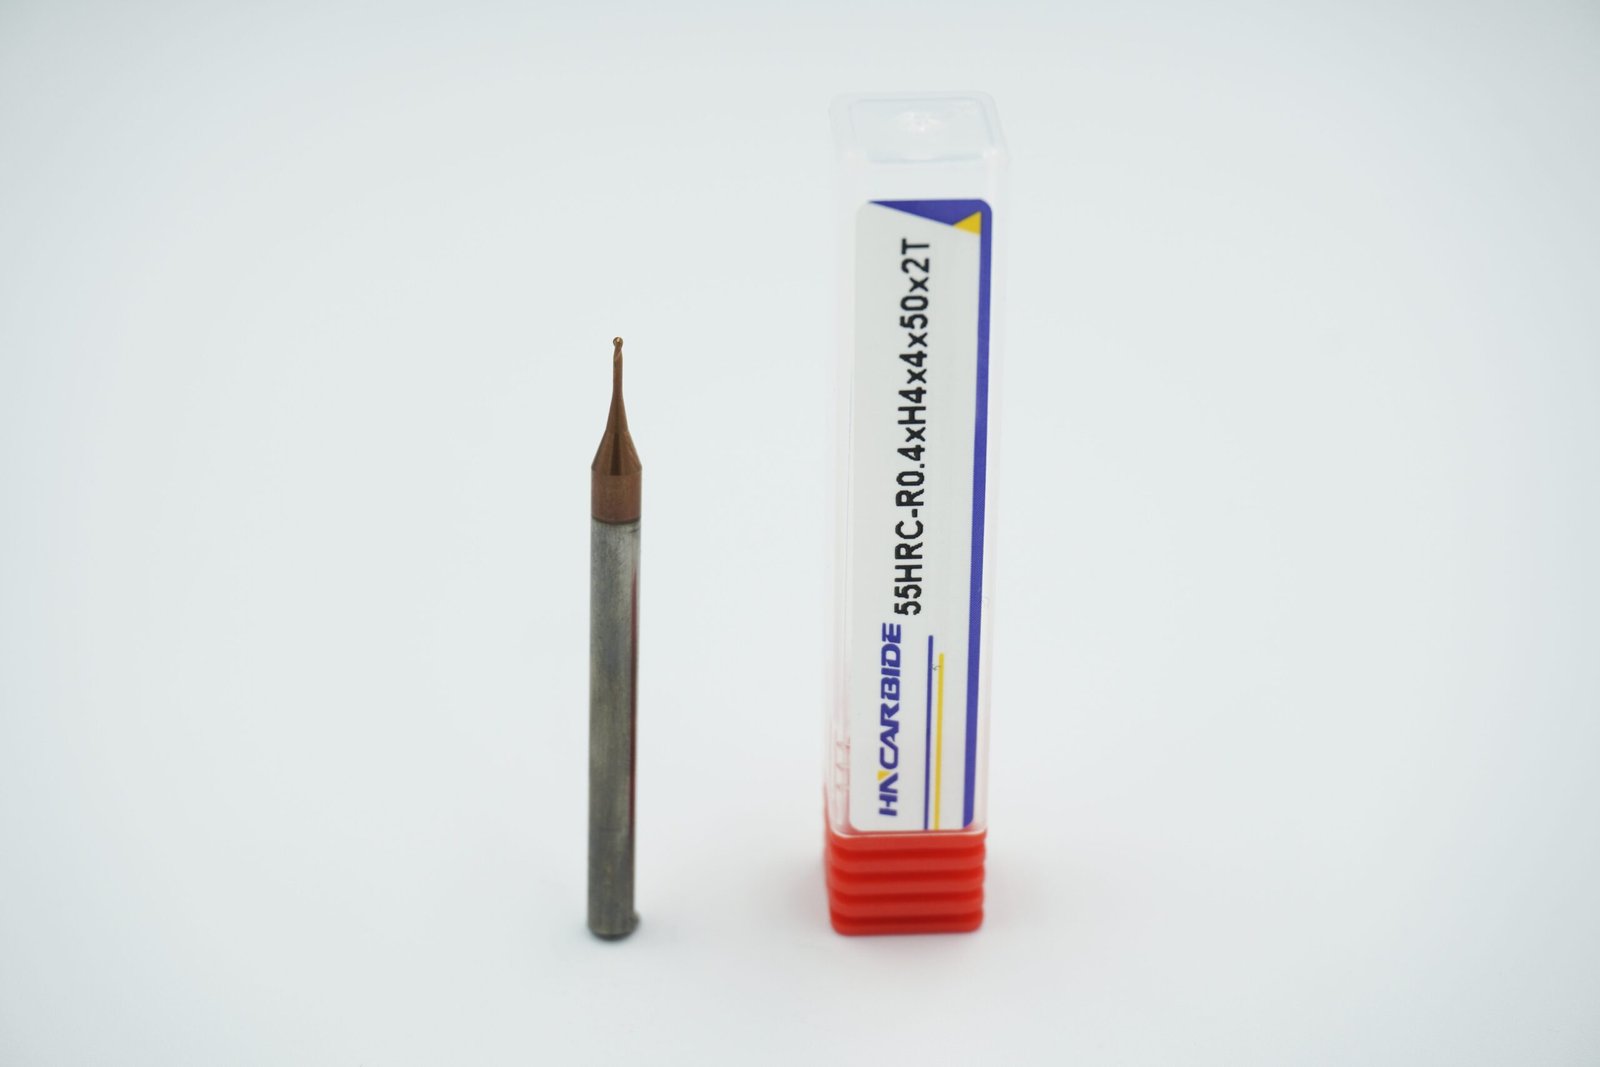
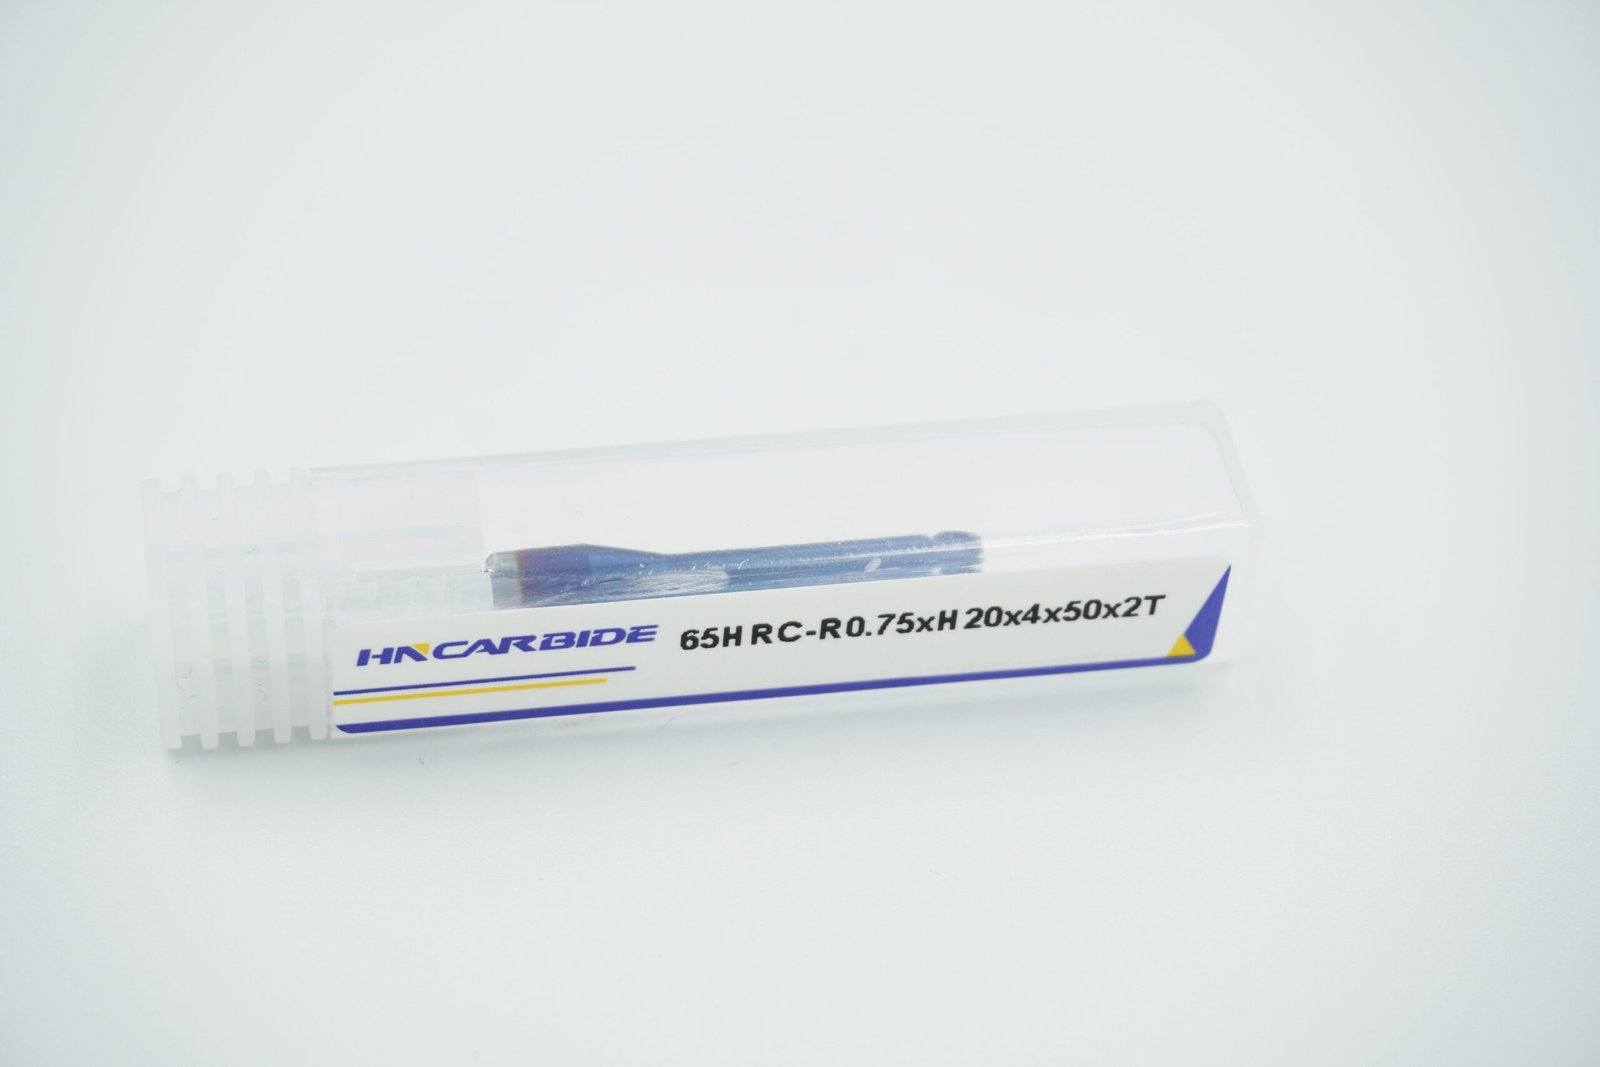
Miniature Ball End Mill: Where It Wins
A miniature ball end mill (or miniature ball end mills in plural) is ideal for:
3D contouring and sculpted surfaces
Mold cavities and fillets
Engraving-like finishing passes
Smooth blending and fine surface generation
Ball end mills reduce stress concentration at corners and can create better finishes on curved geometry. For micro 3D work, they’re often the first choice.
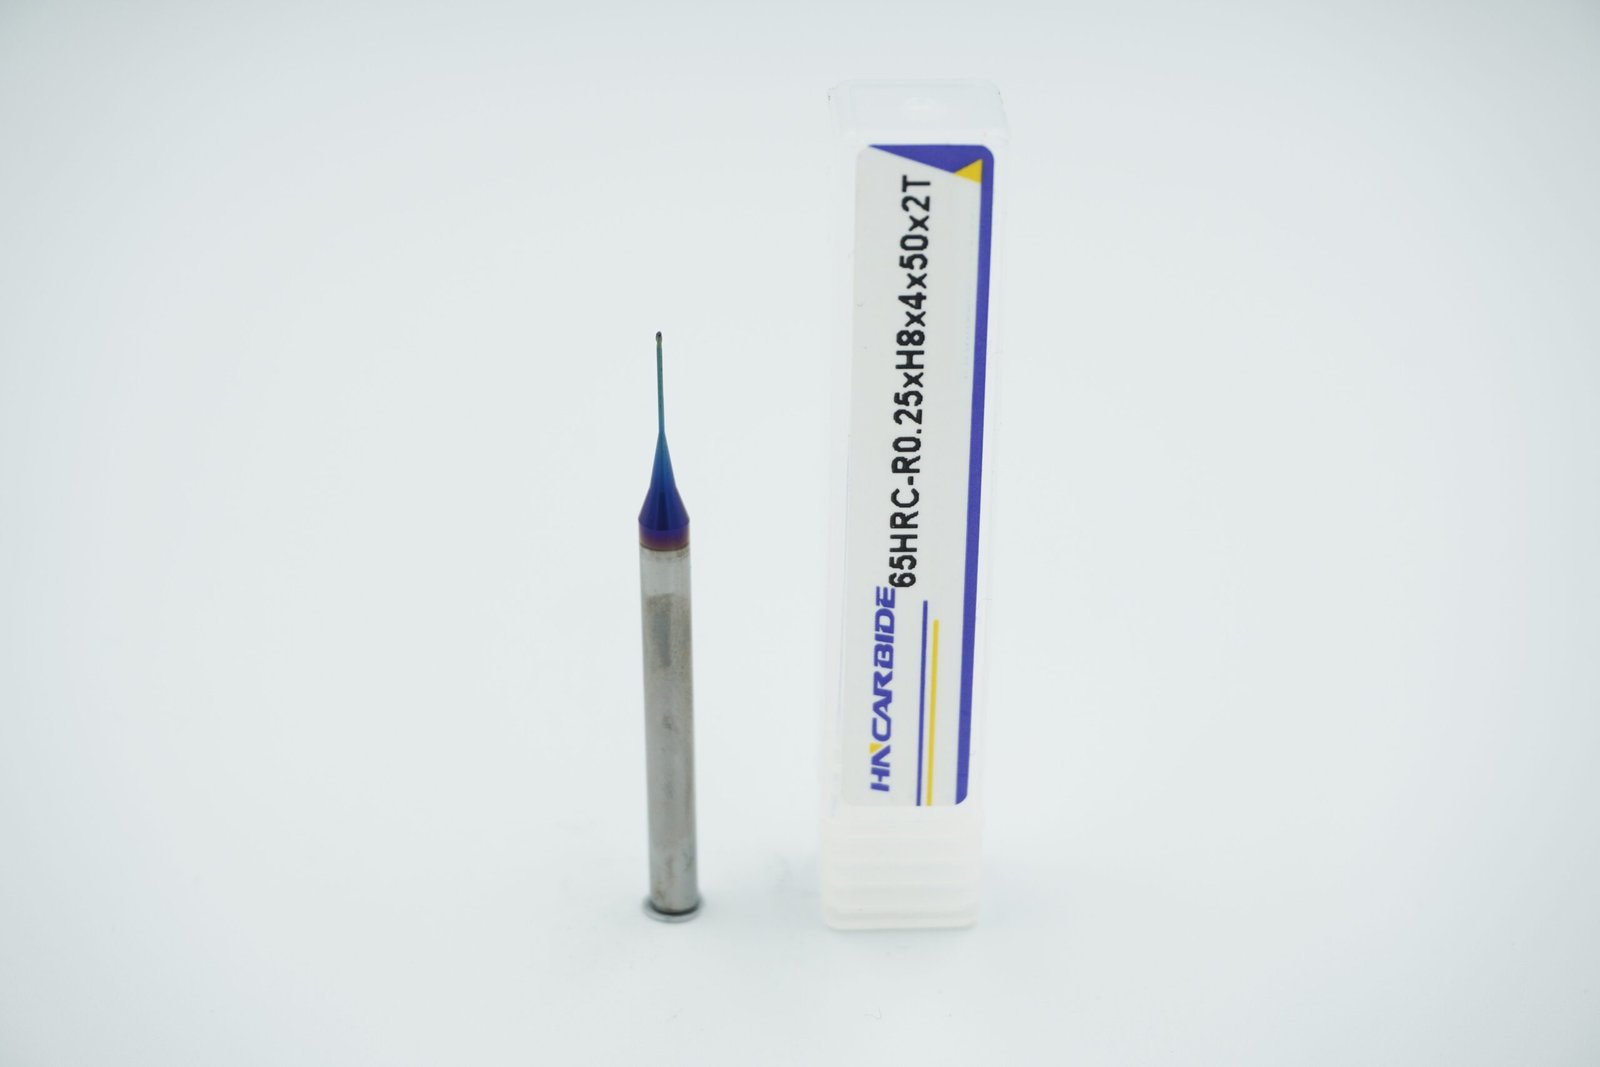
Long Reach Miniature End Mills: How to Avoid Deflection and Breakage
Long reach miniature end mills solve access problems—deep cavities, tall walls, narrow pockets—but they add stability challenges. A longer tool acts like a longer lever: cutting forces generate more deflection.
To make long reach work:
Keep overhang as short as possible. Use only the reach you need.
Use a high-precision holder. Collet quality matters; minimize runout.
Reduce radial engagement. Smaller stepovers reduce cutting force.
Use lighter axial depth per pass. Especially for micro tools.
Prefer 2 flute in many long-reach cases. More evacuation space helps.
Program stable toolpaths. Avoid sudden direction changes and sharp corner entries.
Long reach is a tool design solution—but process control is what makes it successful.
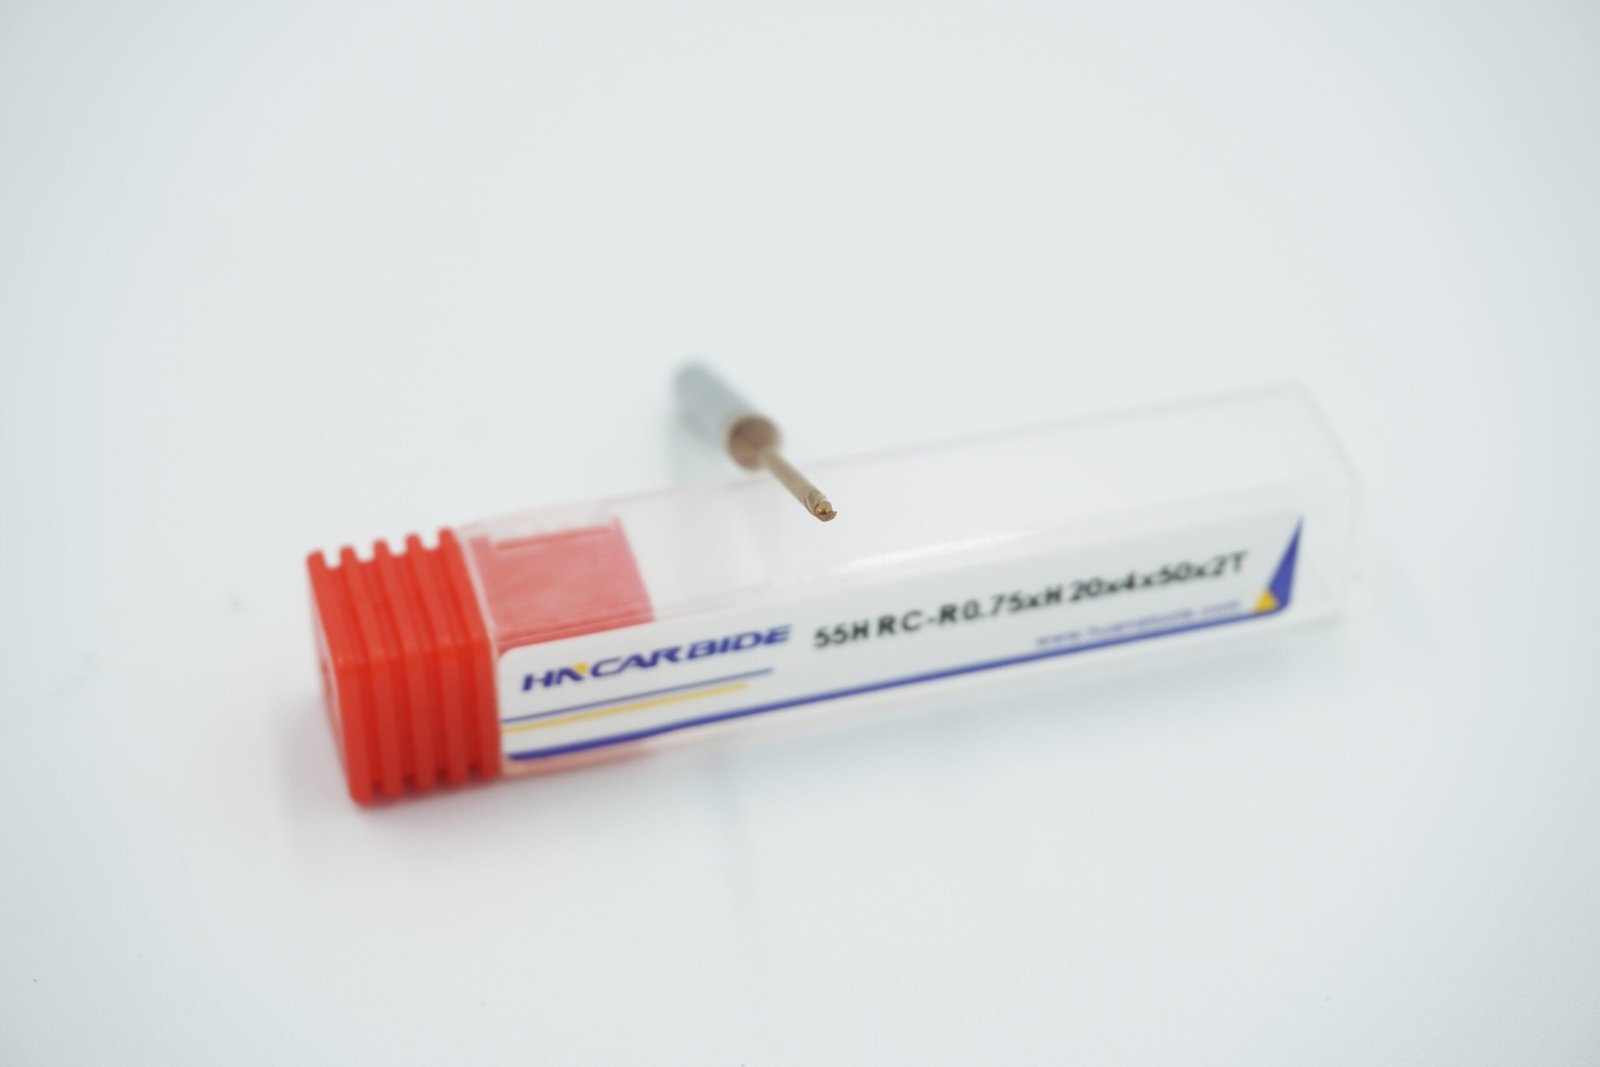
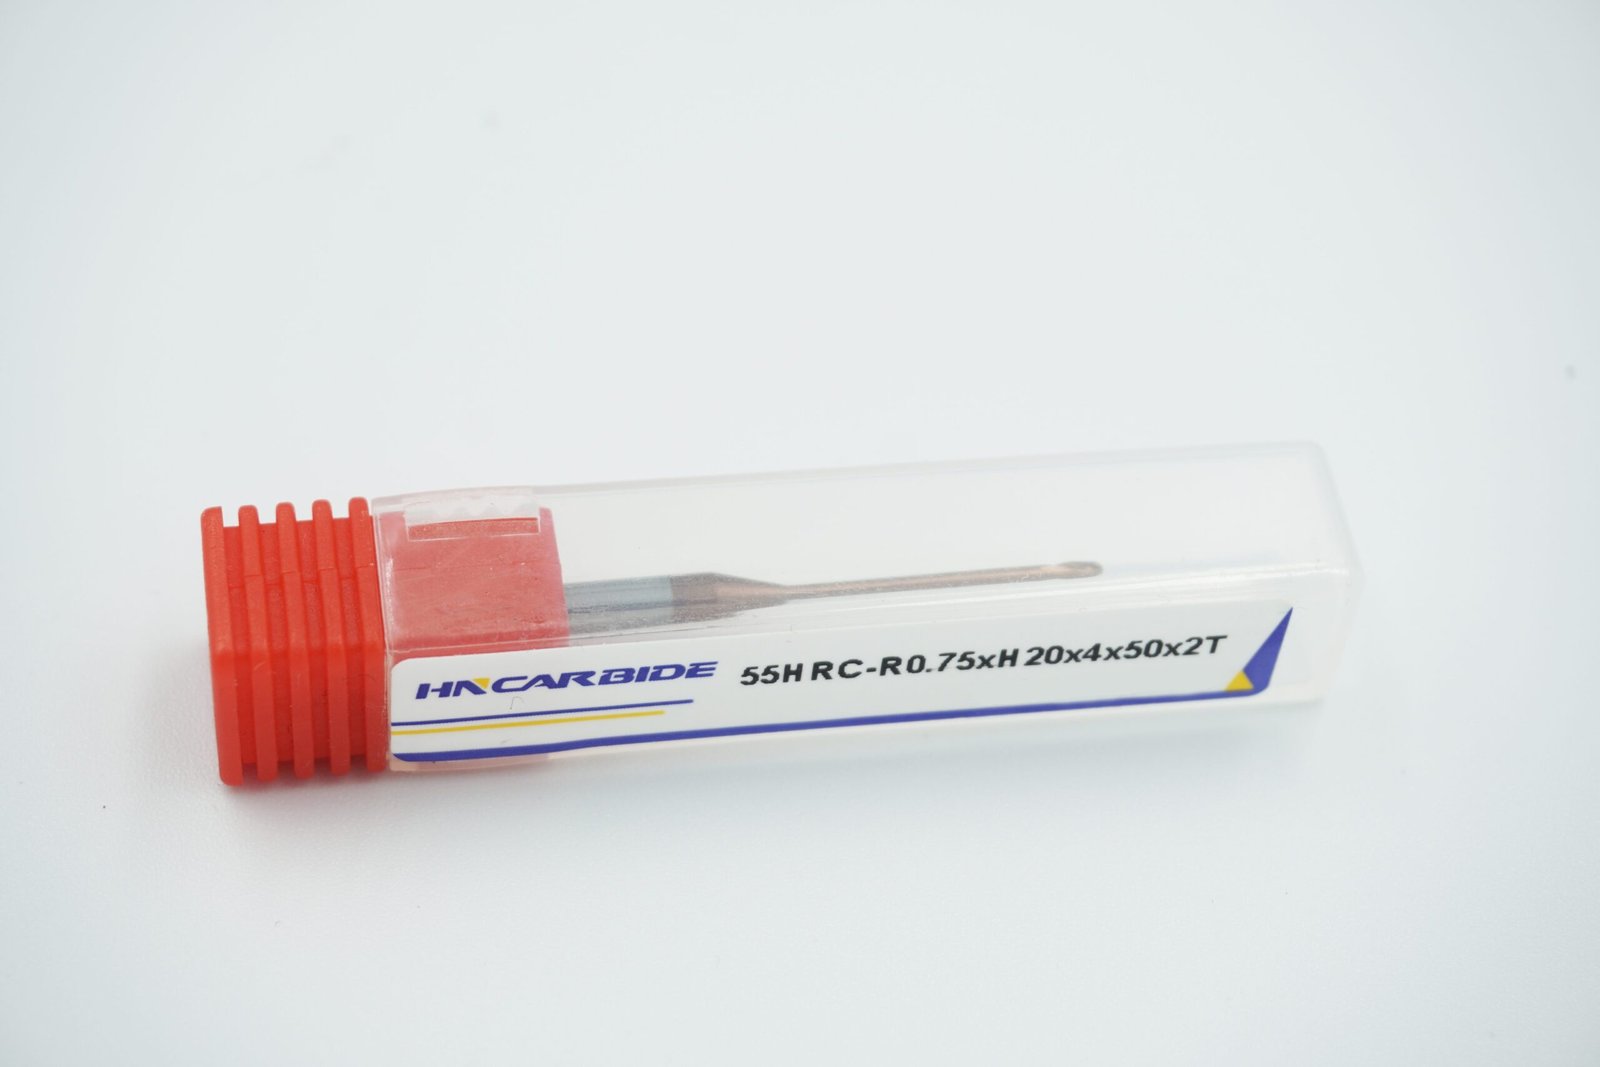
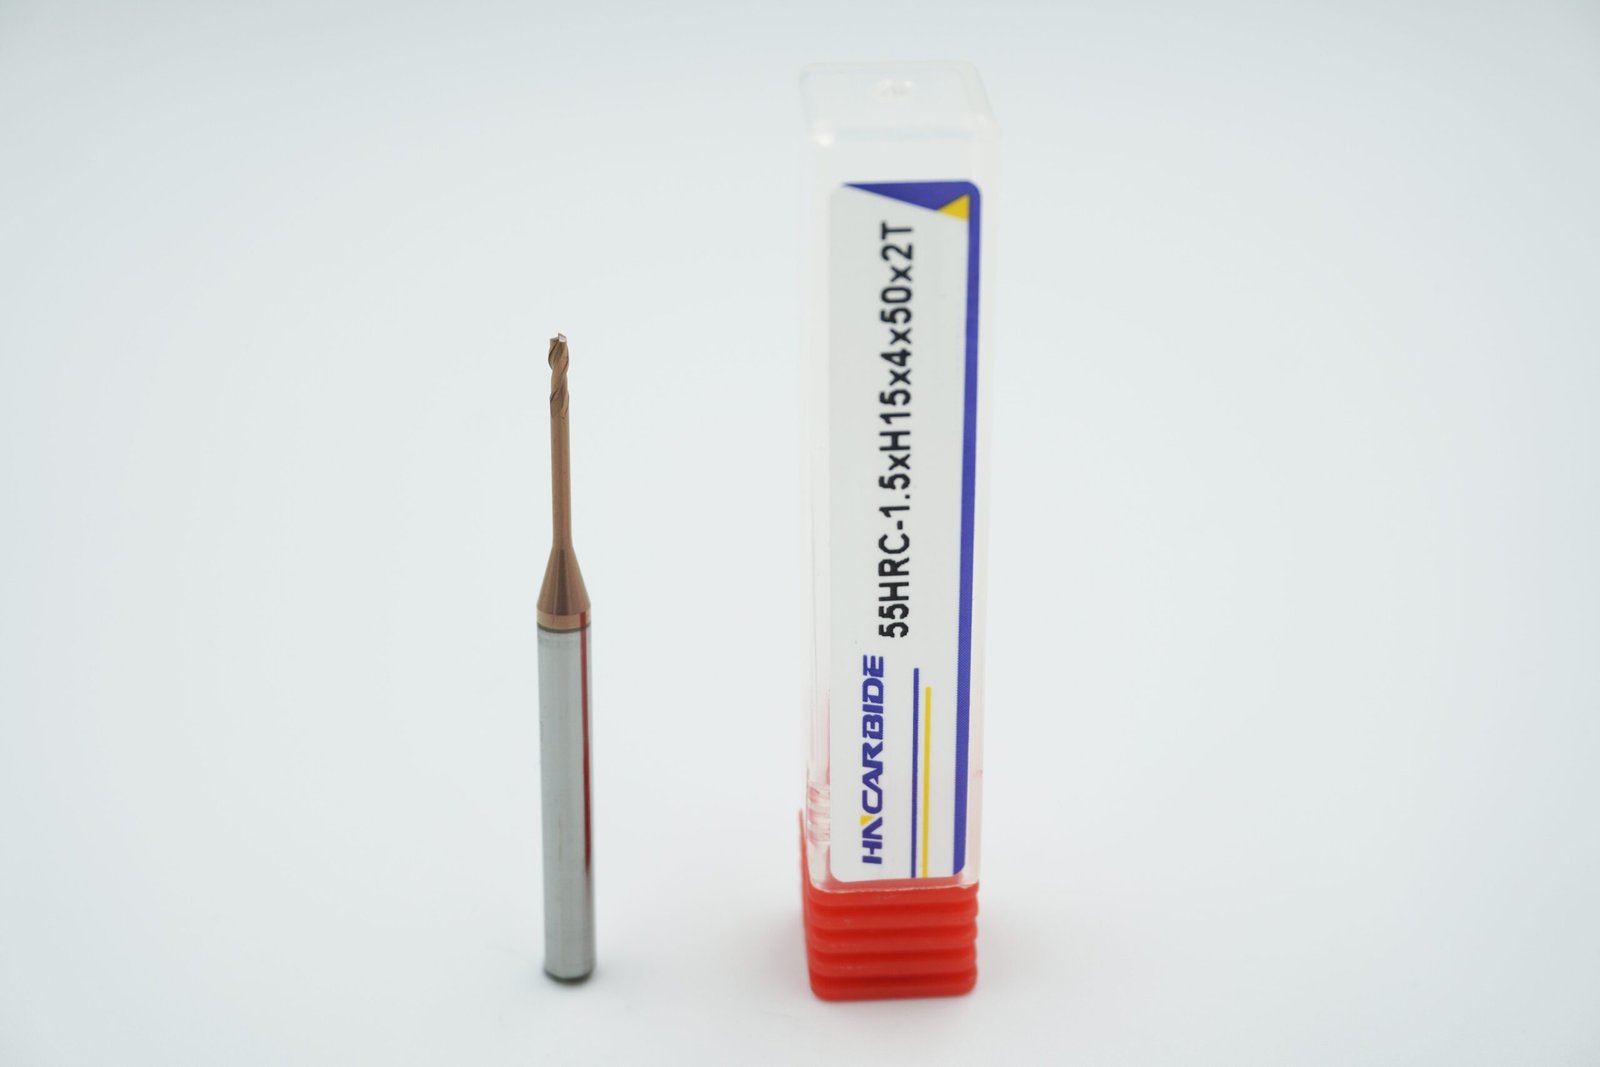
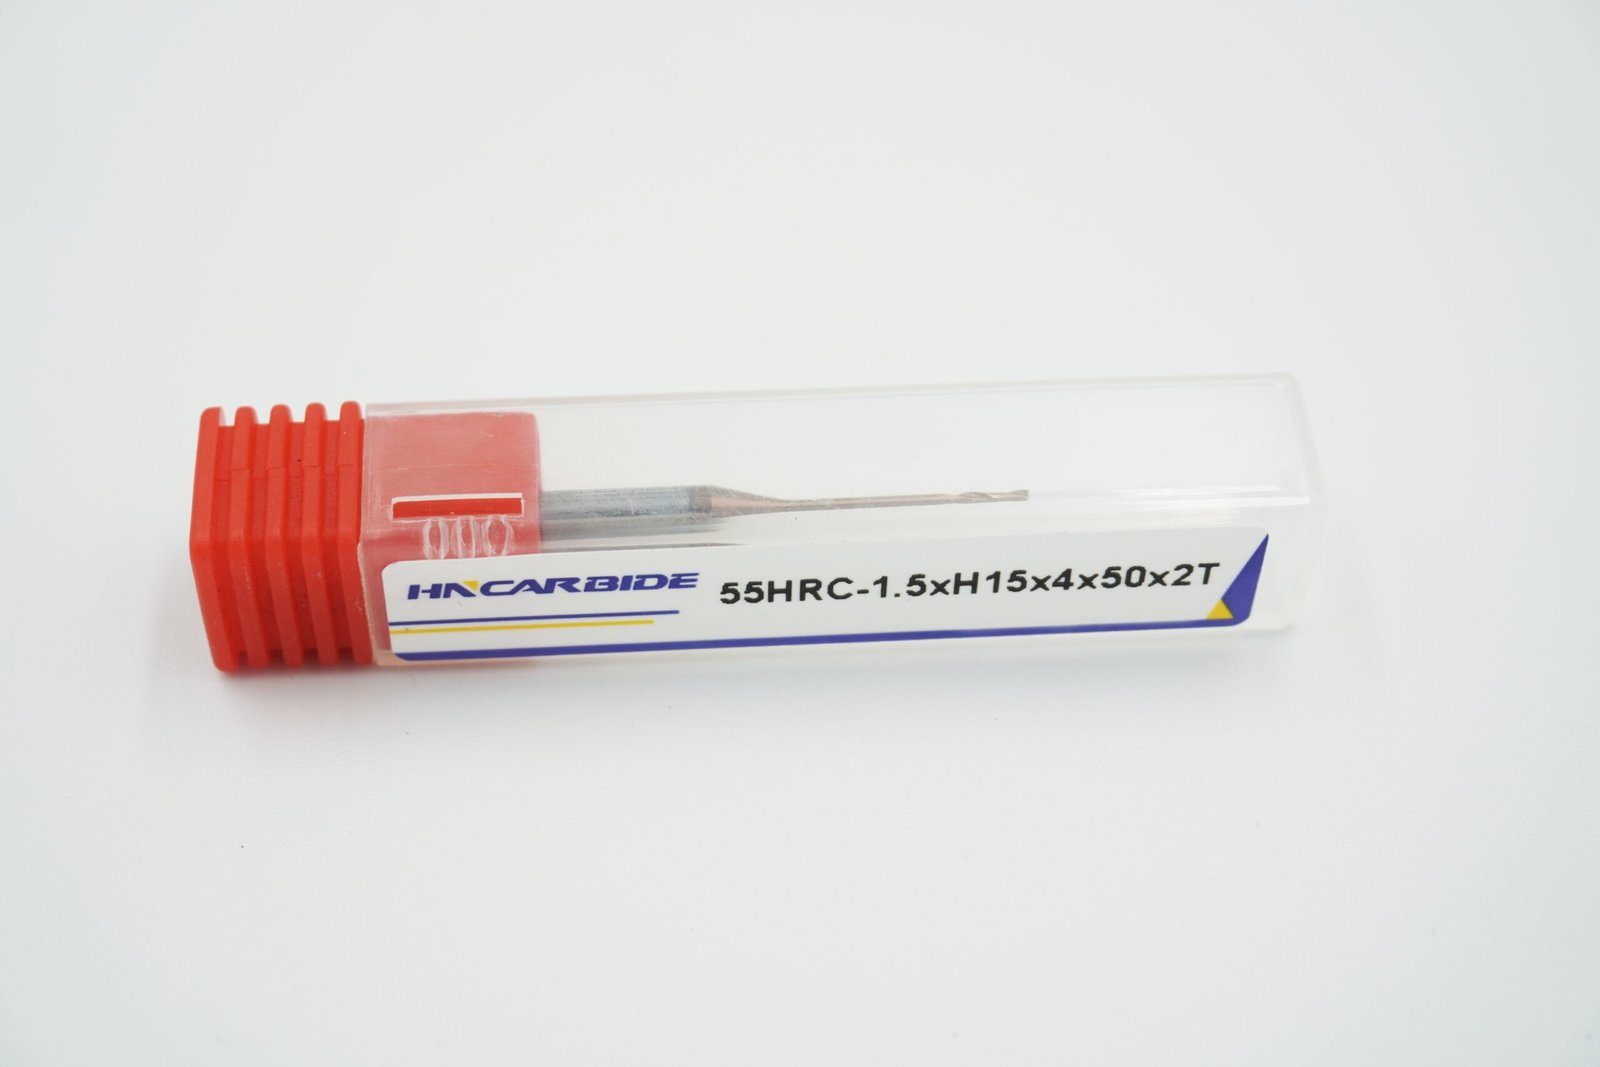
Choosing 55HRC vs 65HRC Miniature End Mills
If your page includes both 55HRC and 65HRC options, this is how most buyers should think:
55HRC Series
Best for:
General steel and stainless steel
Aluminum and non-ferrous alloys (with proper geometry)
Shops needing a versatile tool for mixed work
Benefits:
65HRC Series
Best for:
Hardened steel, tool steel, mold steel
High heat and high wear conditions
Finishing hardened parts with stable geometry
Benefits:
If you’re doing hardened machining, don’t force a 55HRC tool to behave like 65HRC. Tool life will drop fast and edge chipping becomes common.
Common Problems With Miniature End Mills (and Fixes)
Problem: Tool breaks early
Likely causes:
Excess runout
Too much engagement
Chip packing
Excessive overhang
Fix:
Problem: Poor surface finish
Likely causes:
Fix:
Problem: Chip welding in aluminum
Likely causes:
Fix: